How Address Book works?
In the Address Book section, you will find all the details of your contacts, groups, QR Groups and QR Subscription. This section mainly deals with managing all your contacts details. Using this you can add new contacts, add multiple contacts, create groups, etc.
Click here to download Bulk SMS app

How Address Book works?
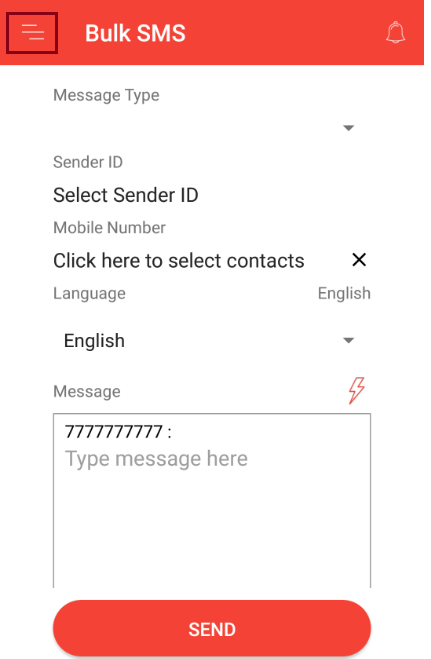
Once you login to the Fast2SMS app, the default page of bulk SMS is shown. Click on the icon on the left side to select the address book option.
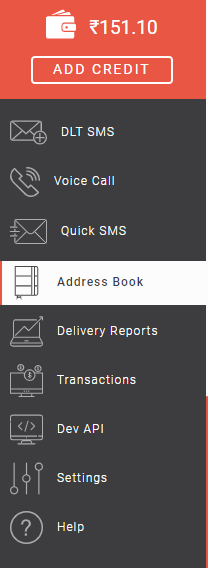
Now select the Address Book option from the list.
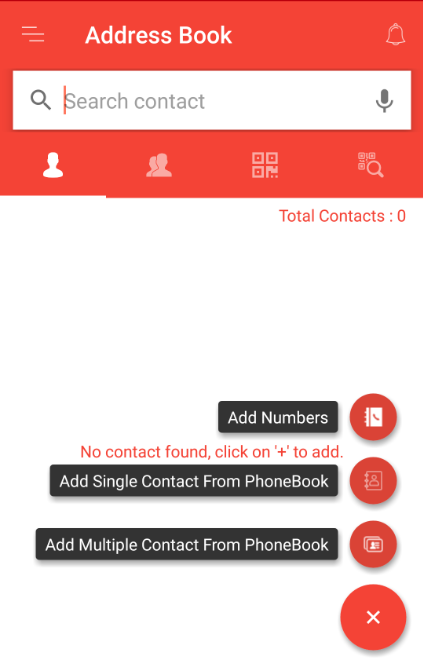
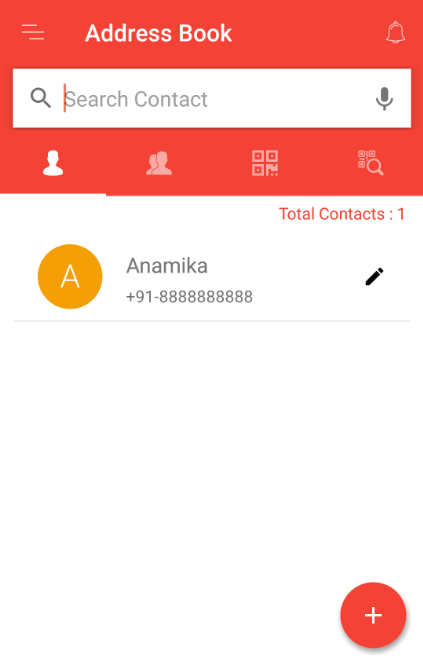
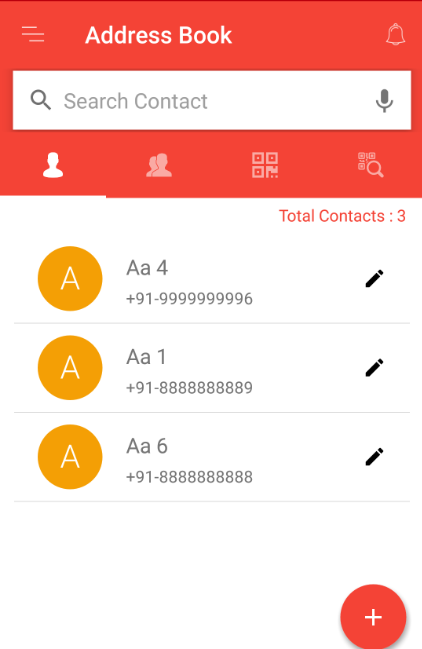
As you select the address book option, the following page will be displayed.

There are 4 options showing in the address book. We will discuss all of them one by one. Let’s take the first option.

1. Contact
The first option is Contact. You can add contacts by clicking on the “+” sign at the bottom of the page. There are different ways in which you can add contacts.
As you click on the”+” sign, 3 options pop up on the screen.
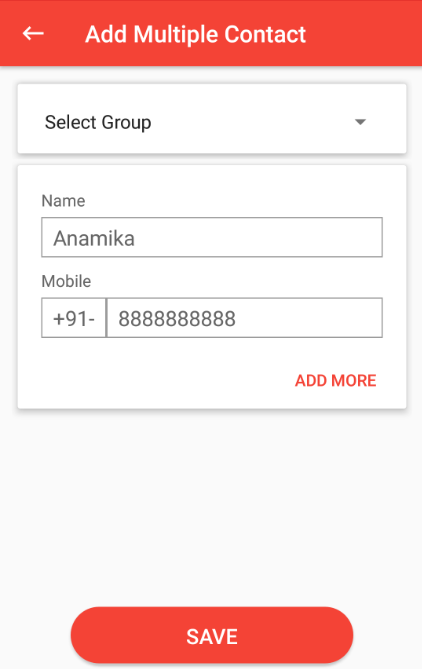
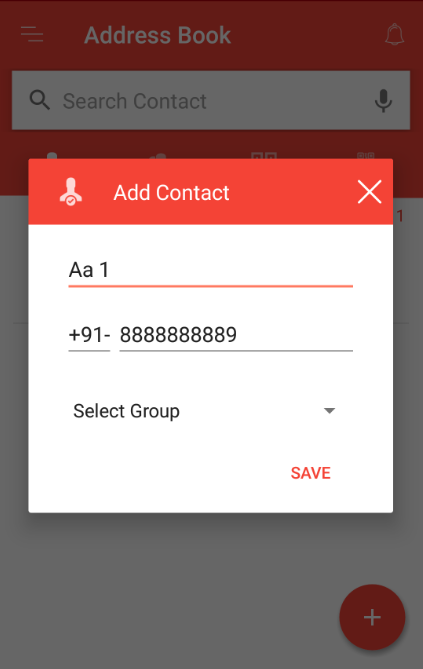
 A. Add Numbers – When you select Add Numbers, it gives you the option of adding multiple contacts. You just need to type the name and number of your contacts and press save. If you want to add more than one contact, then click on Add more.

Write the name and mobile number of your contact and then click on Save.
Now it gets displayed in the Contact page. Similarly you can create multiple contacts.
B. Add single contact from phone book – Next option in the Contacts is adding single contact from the phone book. Click on that option. As you press it, contact details from your phone book will be displayed. After that you need to choose a contact from your phone book.
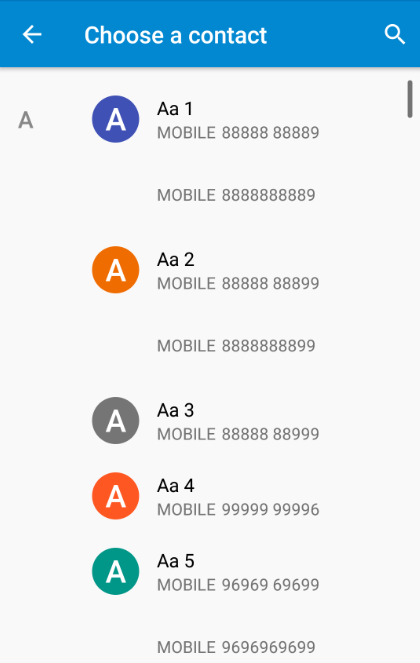
Suppose we want to choose first contact, simply select it. Now press save. Contact will get added successfully.
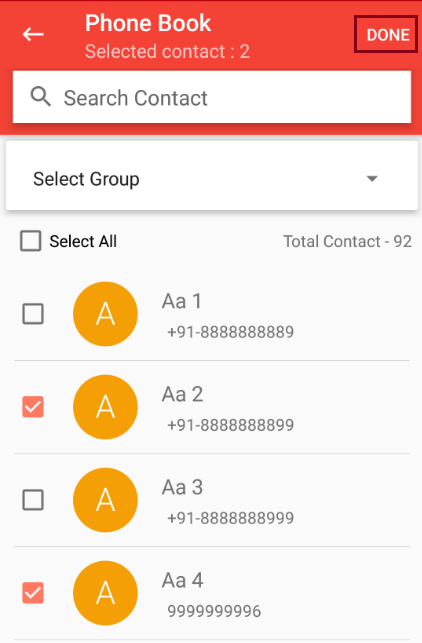
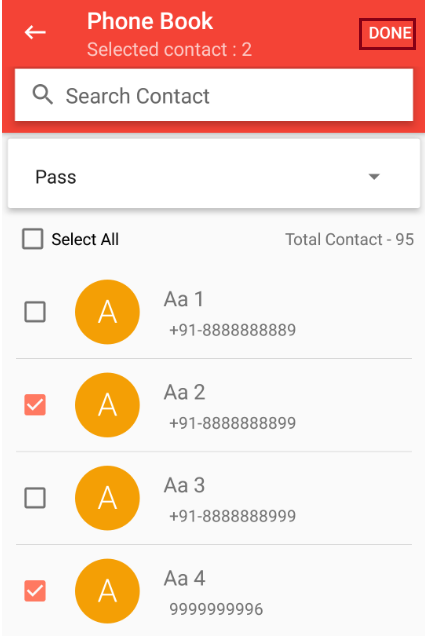
C. Add Multiple Contact from Phone Book – When you wish to add multiple numbers from your phone book, you can select this option. As soon as this option is selected, the following screen appears.
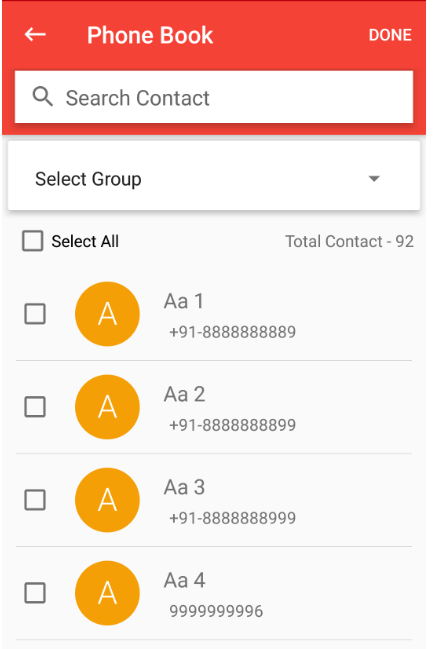
Select the contacts you want to add. After selecting, click on the Done option at the top right of the screen. Contacts will be successfully added.
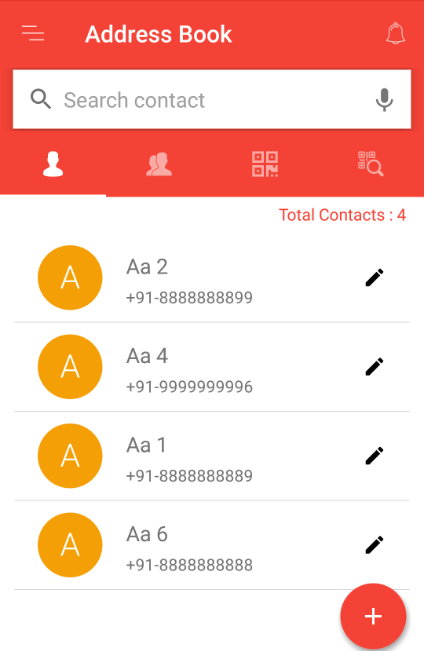
Till now we have created 4 contacts which are being displayed in the Contacts.
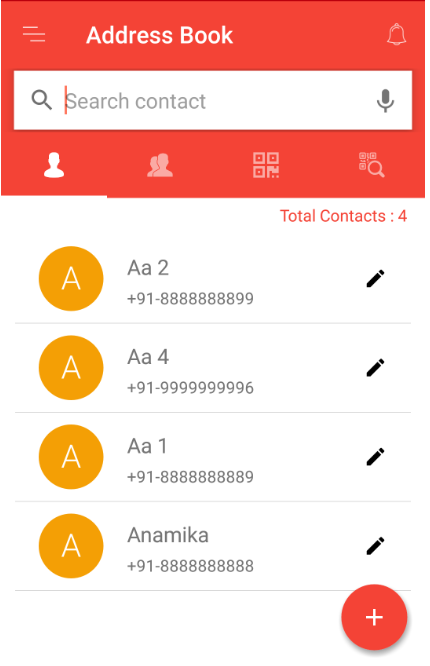 If you want to edit the details of any contact, click on the pencil icon at the extreme right next to your contact. Suppose we want to edit the name of Anamika. Click on the pencil icon, next to the name.

As you click on it, edit contact window will get opened.
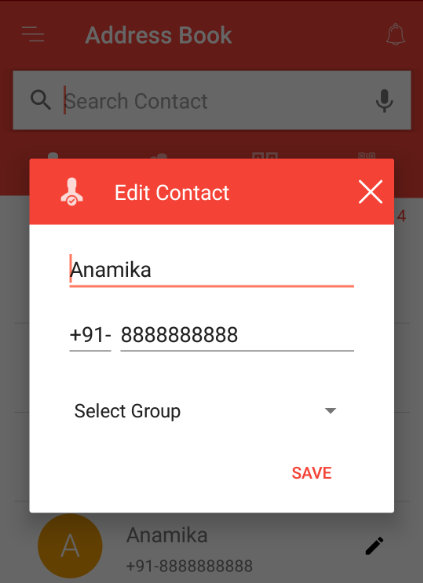
Now edit the name and then click on Save.
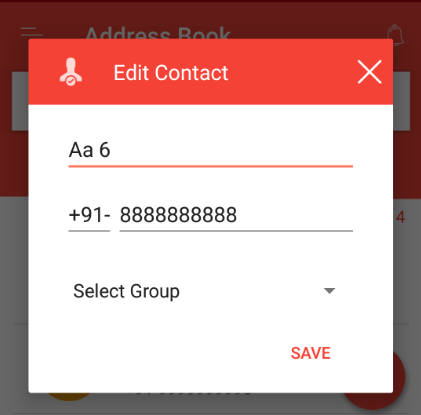
Contact will get edited and all the contacts will be displayed on the screen. As you can see the contact which we have edited is being displayed with the new name. This way we can edit the name and number of our contacts.
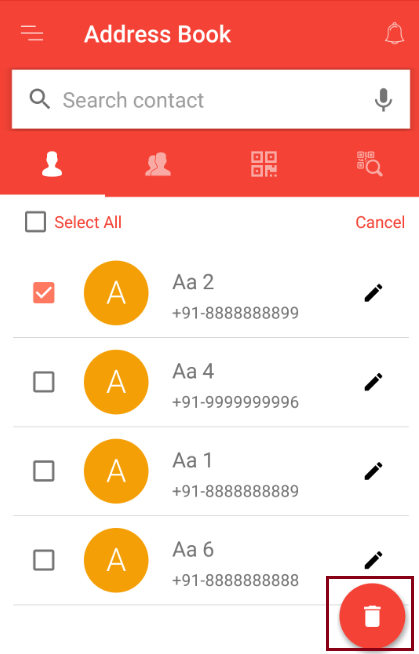
If you want to delete a contact, click on the contact for few seconds, when it gets selected then click on the delete button at the bottom of the screen.
When you press the delete button, 2 options will be shown.
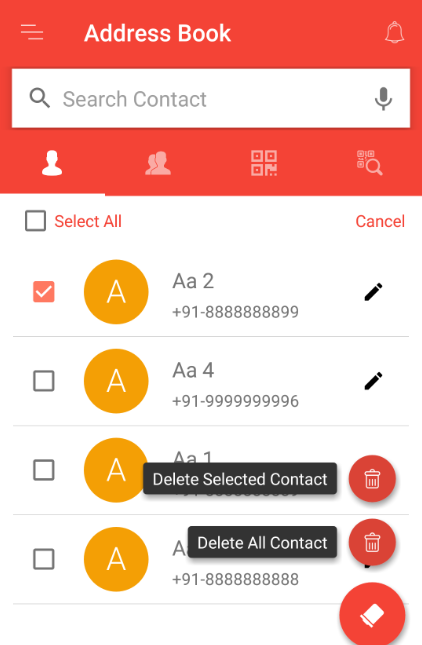
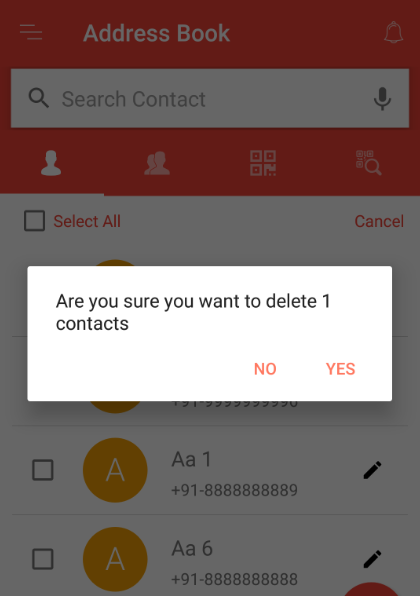
As we select the Delete Selected Contact, a confirmation message will come asking for permission to delete that contact. Click on Yes.
The contact will get deleted and now you can see that only 3 contacts are being displayed.
Note : Please be careful while deleting your contacts because once they are deleted they cannot be recovered even from our side. Contacts are not stored by us for security reasons.
Now let’s discuss the next option in the address book after contacts.
2.Group
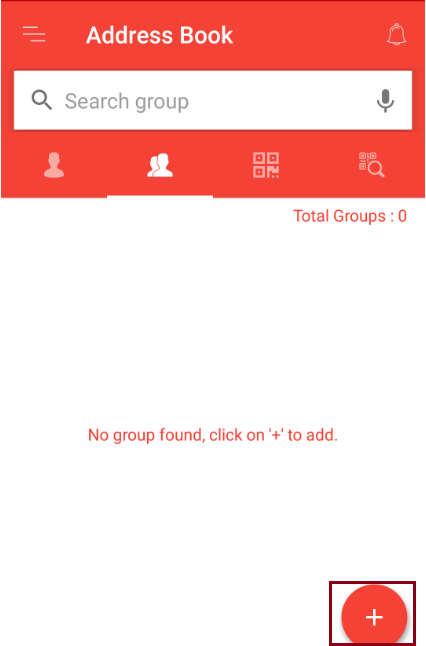
Next to the contact in the address book, the second option is Group.
Creating a group of similar contacts will make our work easy and manageable. We can group our contacts of same type in one group and another type in different groups. Suppose we run a coaching institute where we teach different subjects like Mathematics, English and Science. We want to keep a record of students subject wise. So it can be easily done in Fast2SMS app.
Click on the ‘+’ sign to add a group.
When you click on the ‘+’ sign, 3 options will be shown.
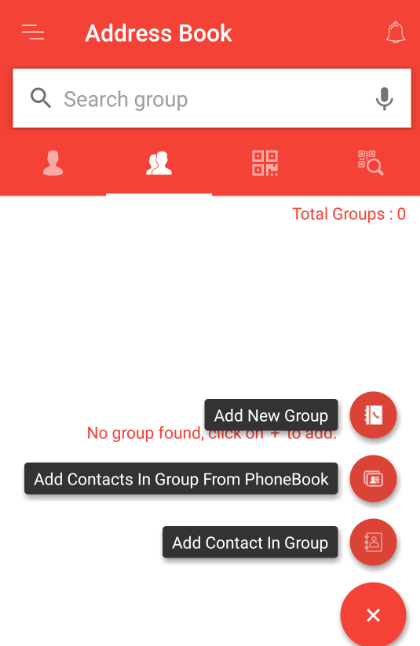
A. Add New Group – If you want to create a new group then select this option. Suppose we want to group our students into two categories – Pass and Fail. For this we have to create 2 groups. Let’s quickly check how to do it.
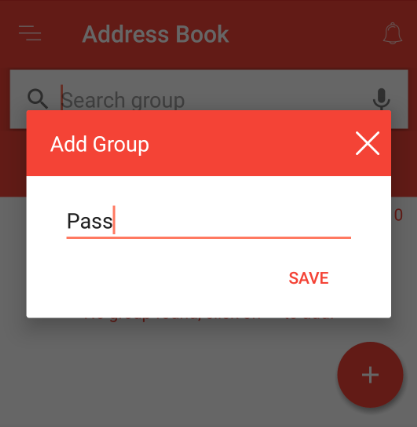
Select the ‘Add New Group’ option. The following screen will pop up.
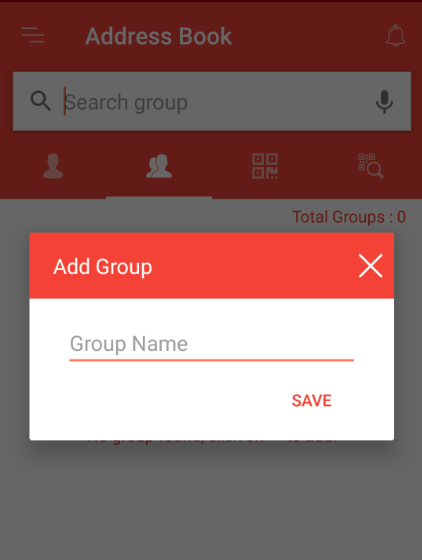
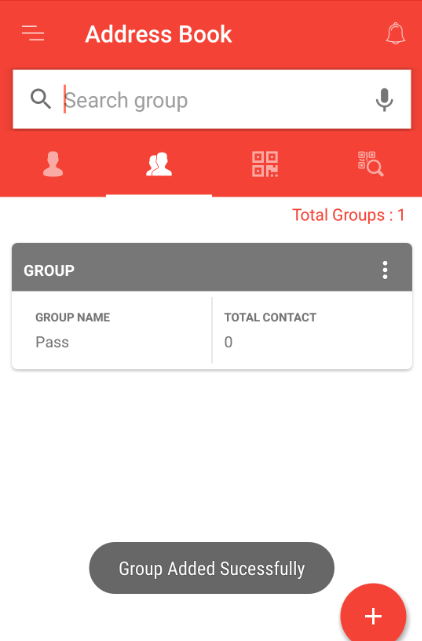
Write your Group Name and click on Save.
The group gets created.
 Similarly we can create one more group – Fail.
We have created 2 groups total which are being displayed in the screen as shown below:
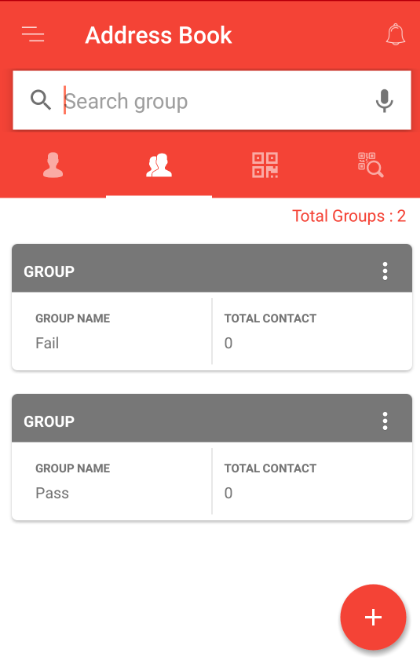 In this way, we can create groups.
B. Add contacts in group from phone book – Next step after creating groups is to add contacts. We can add contacts directly from the phone book.
Select that option of adding contacts from phone book. As you select this option, the following screen will get displayed. Select the group which you have created previously.
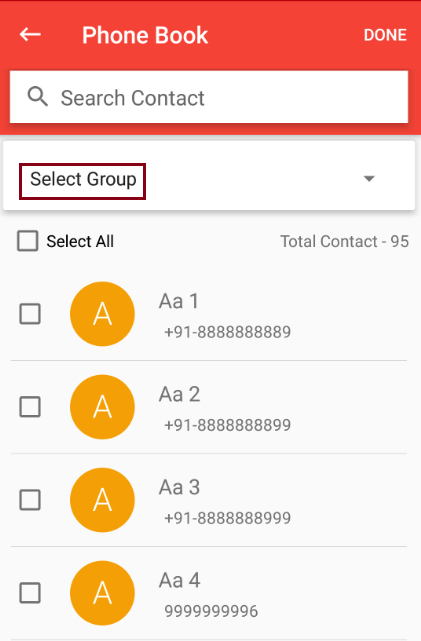
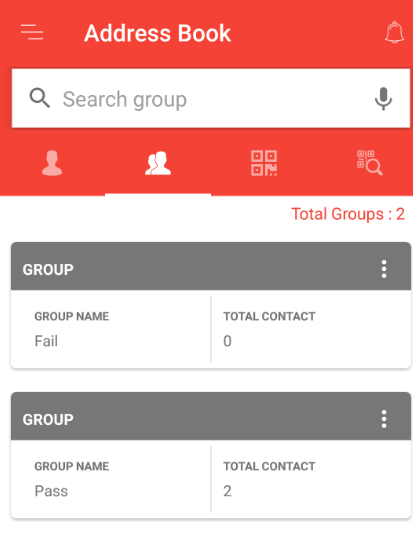
Here we have selected the group ‘pass’. Now select the contacts which you want to place in that group. After that click on Done at the top right of the screen.
Thereafter the contacts will be added in the group. As we can see in the following image, group pass is showing 2 contacts and group fail is showing 0 contacts.
 Now let’s add the contact in the group Fail in the similar manner.
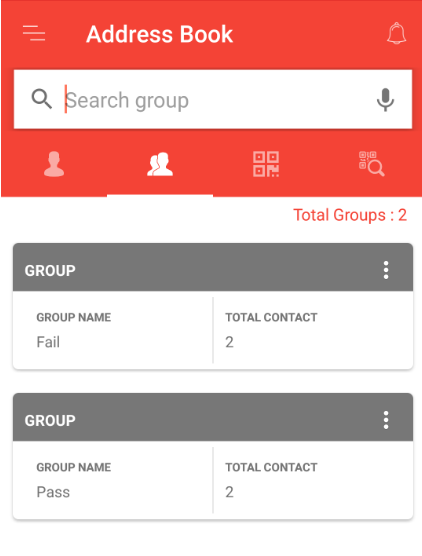 This is the way how we add contacts in group from phone book.
C. Add Contact in Group – The last option in the Group section is of adding contact in group from the app itself.
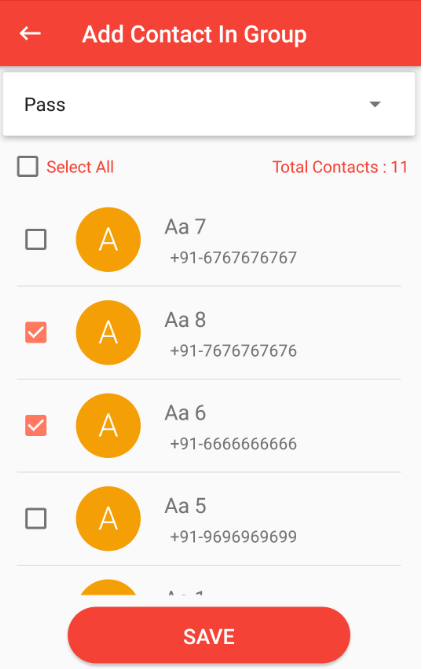
For this select the option first. As soon as you select this option, the following page will be displayed.
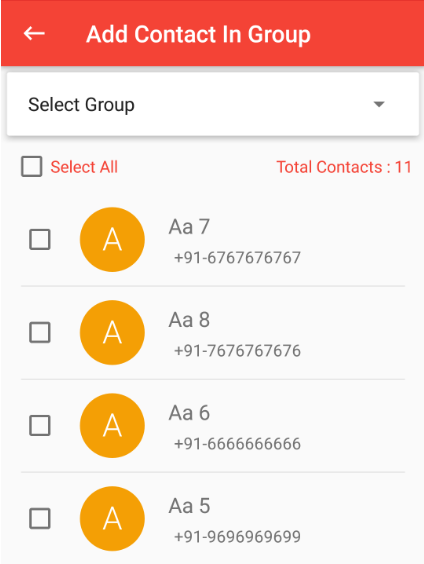
Select the group in which you want to add the contacts. After that select those contacts which you want to add into that group. And then click on Save.
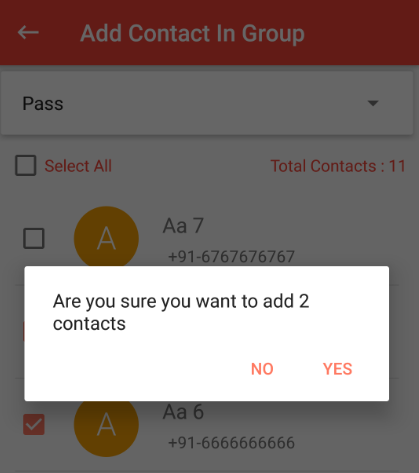
As we click on Save, a confirmation message will appear asking for permission to add contacts in the group. Click on Yes.
After we have given our permission to add contacts, the contacts will get added to the group. Now as we have added 2 more contacts in the group pass, it is showing 4 contacts.
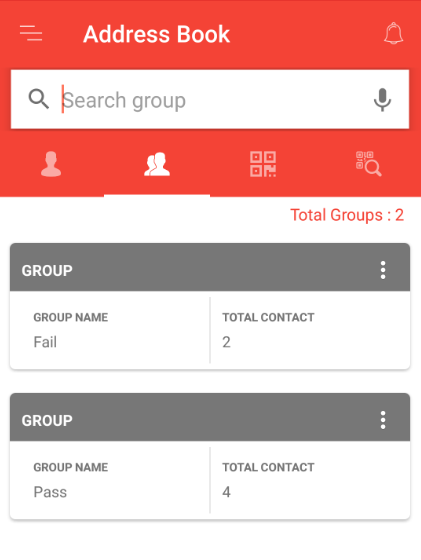 This is the process of adding contacts in groups.
How to change contacts from one group to another?
Visit the Contact page. In that select the contact which you want to shift from one group to another group. Click on the edit icon next to the contact name.
3. QR Group –
The third option in the address book is the QR feature. QR is the short name for Quick Response. QR is a unique and special feature offered by Fast2SMS. Till now this feature is not provided by any other Bulk SMS service provider. You can add contacts using the QR Group in an easy and hassle free way.
For adding contacts using QR select the’+’ sign at the bottom of the page.
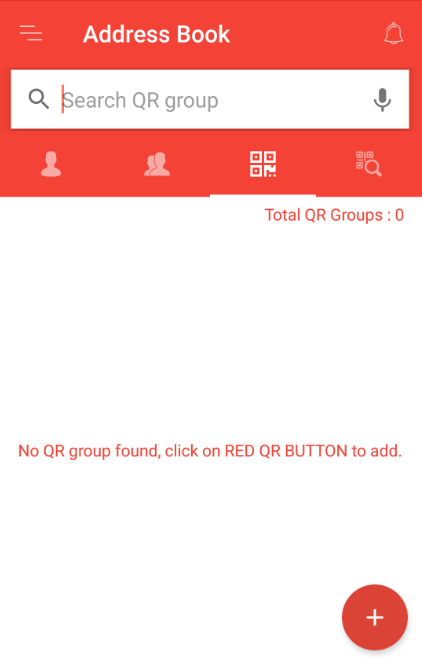
As you click on the ‘+’ sign, a new screen gets opened as shown below:
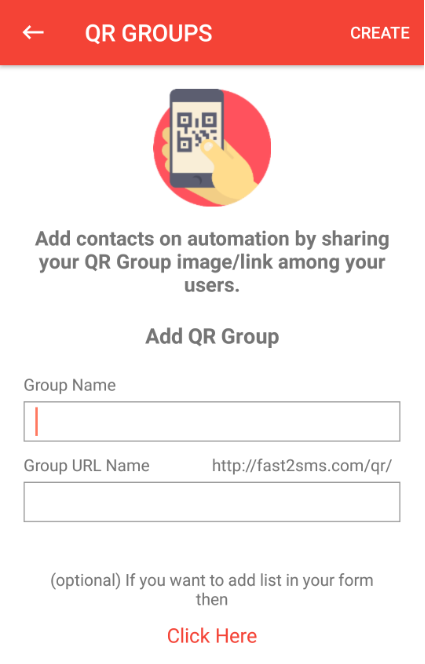
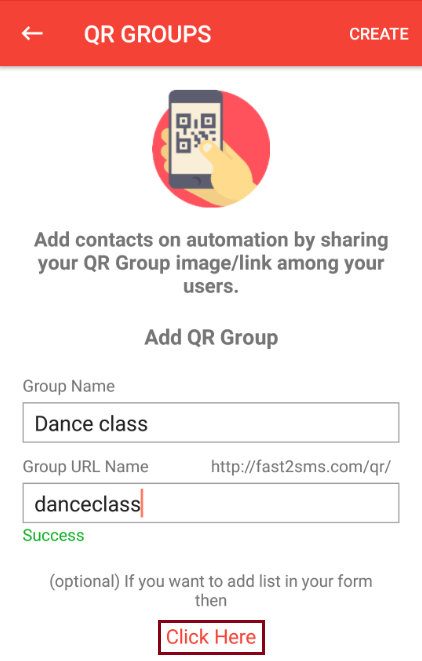
Now enter the Group Name and Group URL Name. Here we are keeping the group name and group URL as dance class. And after entering these details, there is an optional feature to add list in the form. Click on the click here link to add list.
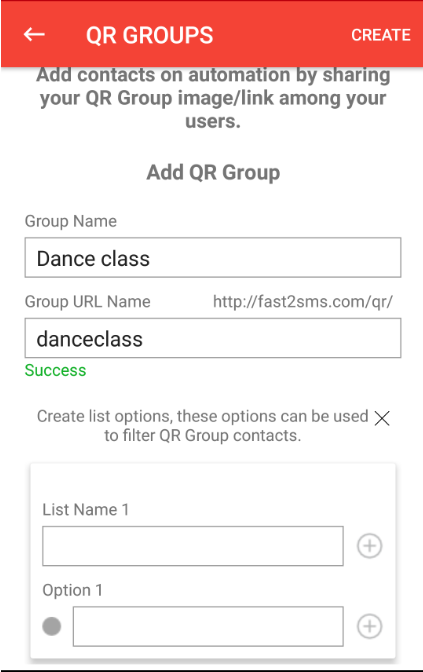
When we click on the click here link, the list options will be displayed.
Note : You cannot edit these options once you have created them.
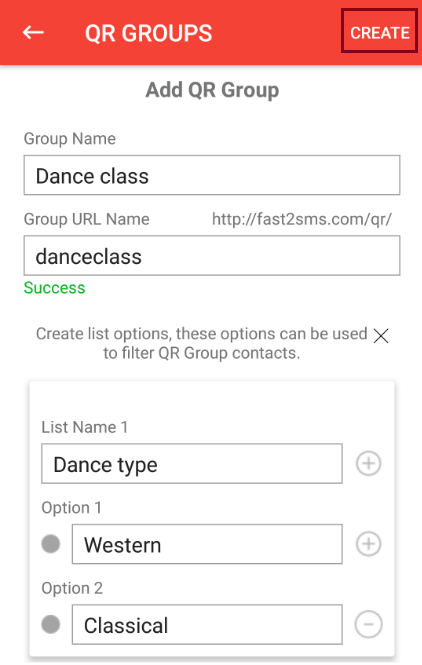
Next step is to enter details on the list name. These options are used to filter the QR Group contacts and be more specific. We have created a list based on dance type. After you have added the options, click on Create QR at the top right of the screen.
As we click on the Create QR button, the group gets added successfully and it is shown on the screen.
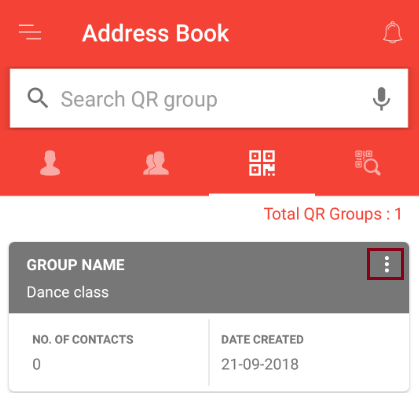
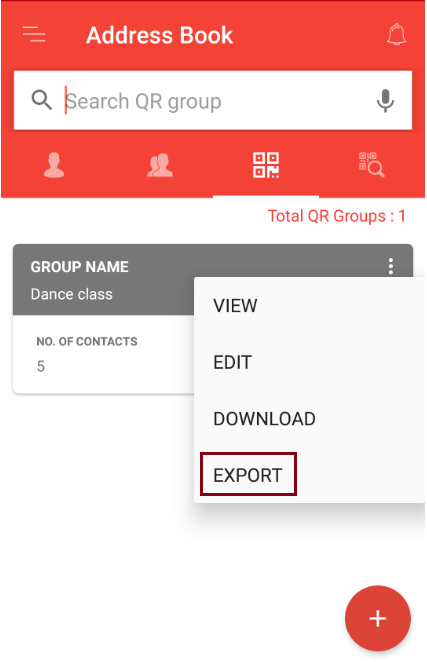
Click on the 3 vertical dots on the right side of the screen to view, edit, download or export it.
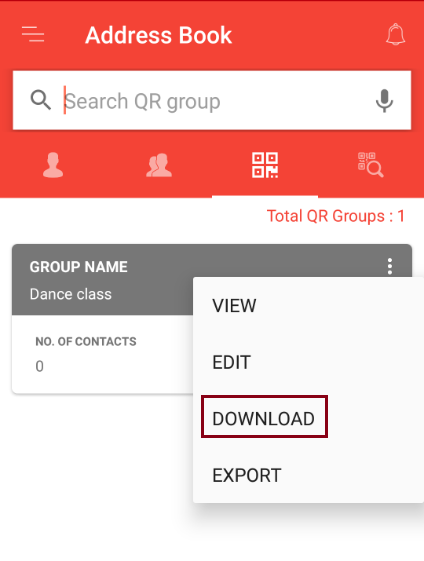 When you click on the Download option, within few seconds QR code will be downloaded. You can view it in the PDF viewer.
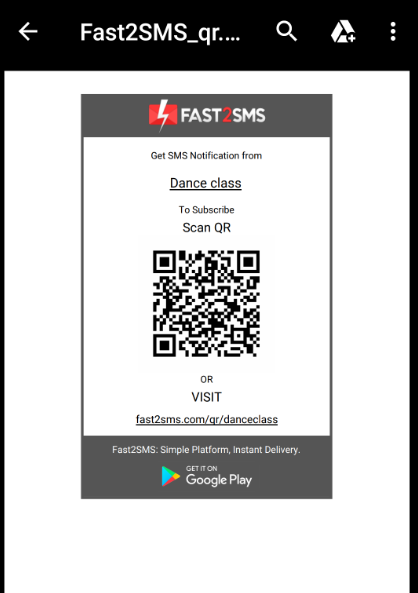
You can share the link with anyone, to get their name and numbers.
When anyone scans the QR code or visits the link fast2sms.com/qr/danceclass, they have to fill their name and number and click on the submit button.
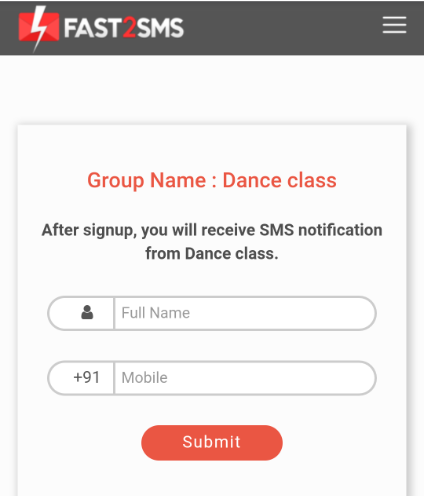
The person will enter his or her details like name, mobile number and then click on Submit.
After that OTP will be sent to that person’s mobile. He or she has to enter the OTP and then click on Submit.
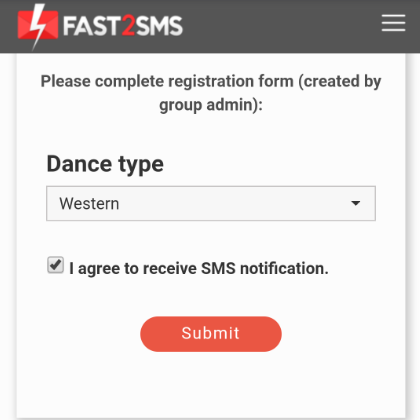
After they have pressed the Submit button, another window gets opened asking to complete the registration form which we have made at the time of creating QR. They will select the dance type, click on the check box and then press the Submit button.
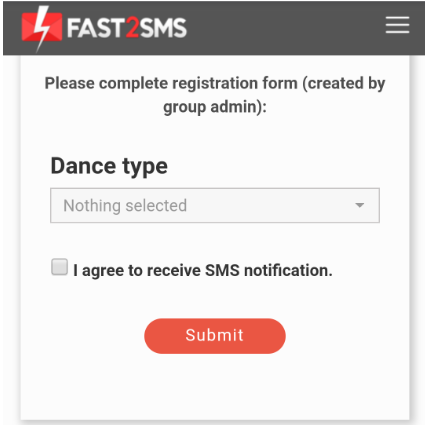
After they have selected the option from the category dance type and selected the ‘I agree’ checkbox, then they have to press the Submit button.
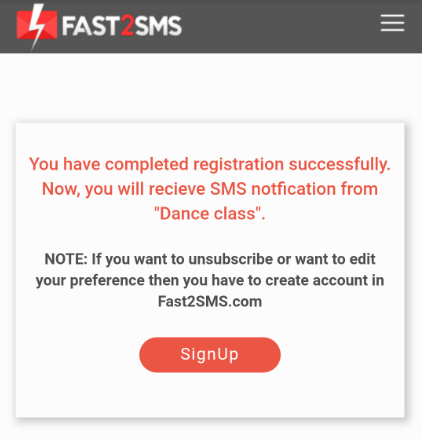
After they have pressed Submit button, registration gets completed and that person will receive SMS notifications from our group ‘Dance Class’.
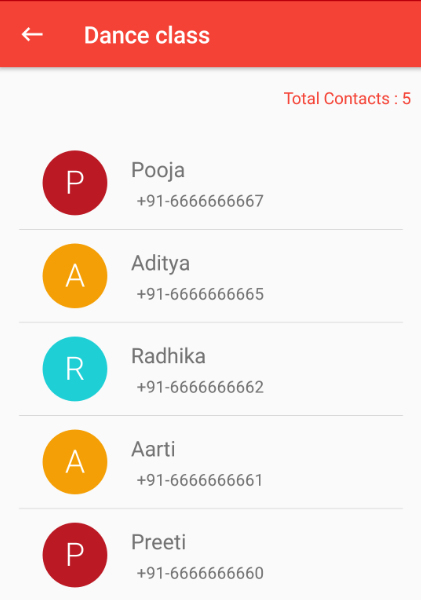
You can view your QR Group contacts by clicking on the QR group option and then as you select 3 dotted vertical line on the right side, different options will appear. Click on the View option to view your contacts.
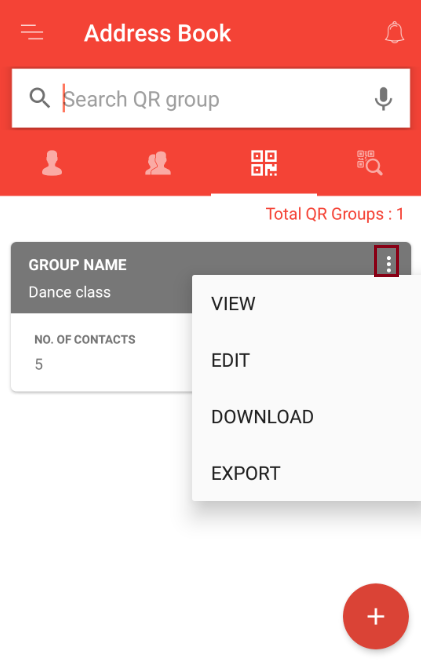
When the option view is selected, the total number of contacts which are added in your QR Group gets displayed.
You can also edit the name of your QR Group by selecting the edit option from the vertical dotted line. After editing, click on Save.
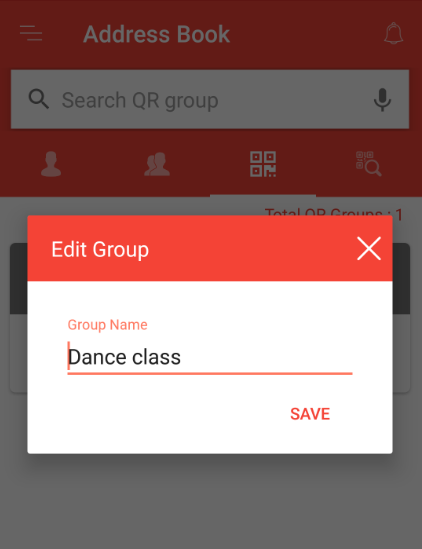
Note : You can edit only the group name. You cannot edit other fields and links.
We can even export our contacts by selecting the export contacts option. As you click on the export contact option, an excel file of our contacts will get open. Now we can save this file and even take a printout of it.
We can even export our contacts by selecting the export option.
When we click on the Export option, an excel file of our contacts will get open. Now we can save this file and even take a printout of it.
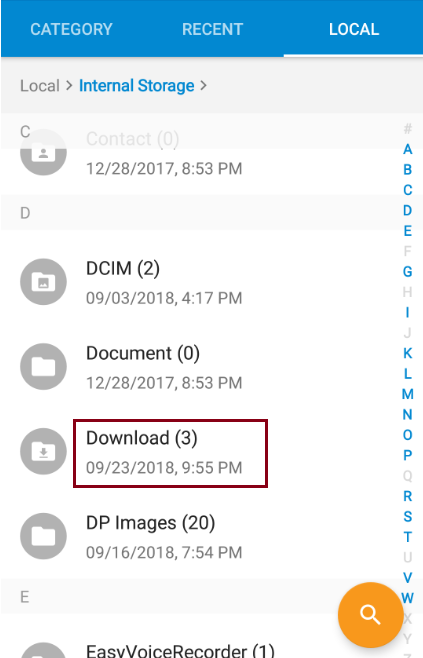
Click on the downloaded link to open it. You can open it directly or you can even go to the File Manager in your mobile. As it gets opened, you have to select the option local from the menu.
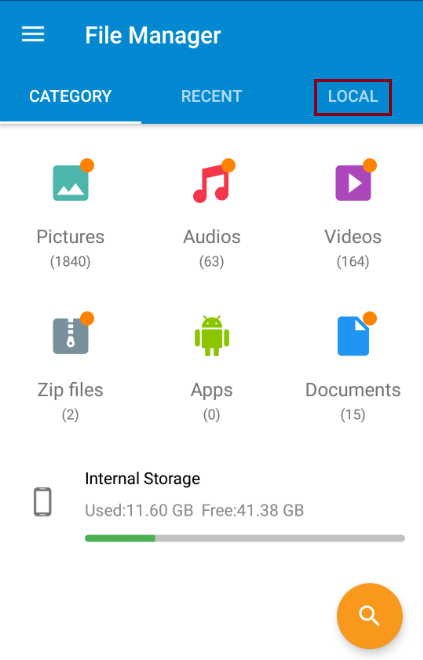
After that select the Download option from the list.
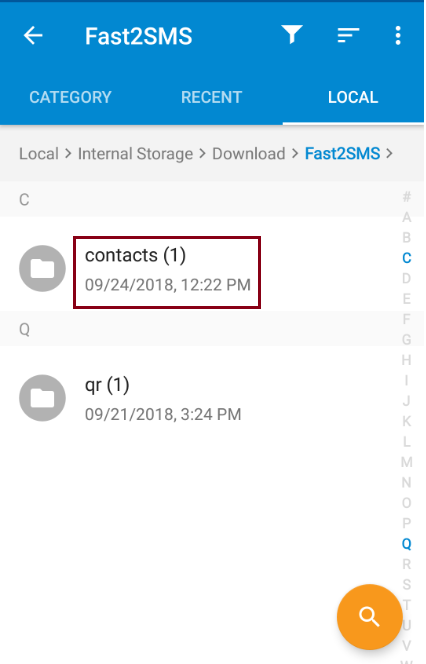
Click on the “contacts” option.
As it gets opened, an excel sheet of our contacts will be displayed on the screen.
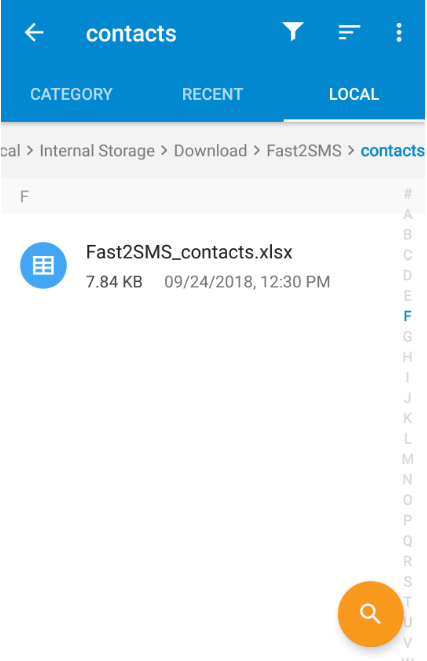
As you click on it to open, two excel sheets will be displayed.
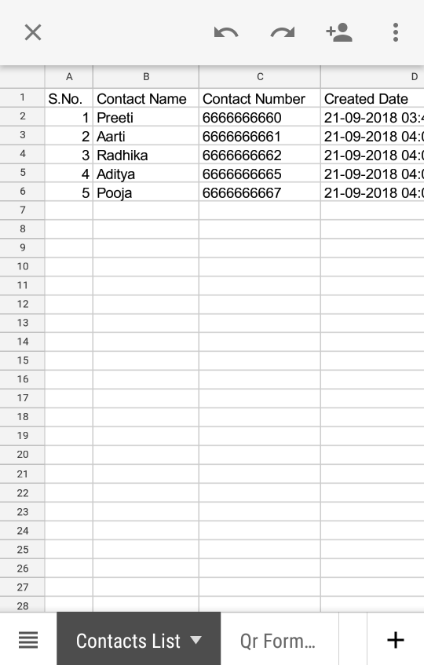
The first sheet will be of Contacts list. In this list, contact name, number, date and time will be displayed as shown below.
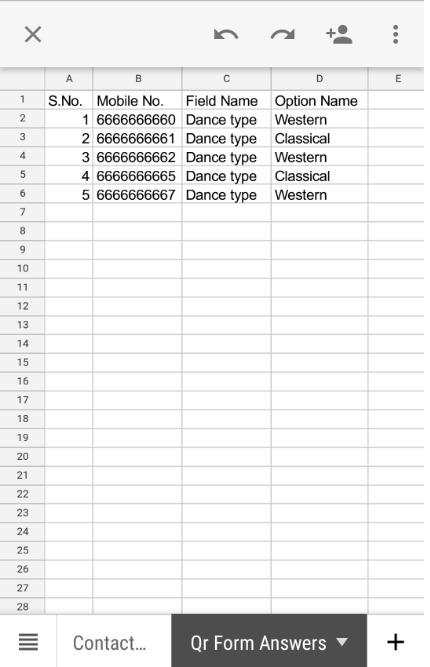
The second list will display the mobile number and details of the optional form filled at the time of creating QR.
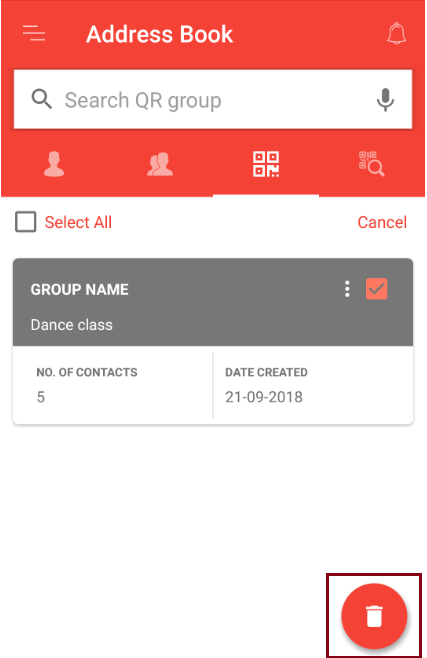
You can also delete the QR group created by you. Just click on your QR Group Name till it gets selected. As it is selected, click on the Delete button at the bottom right of the screen.
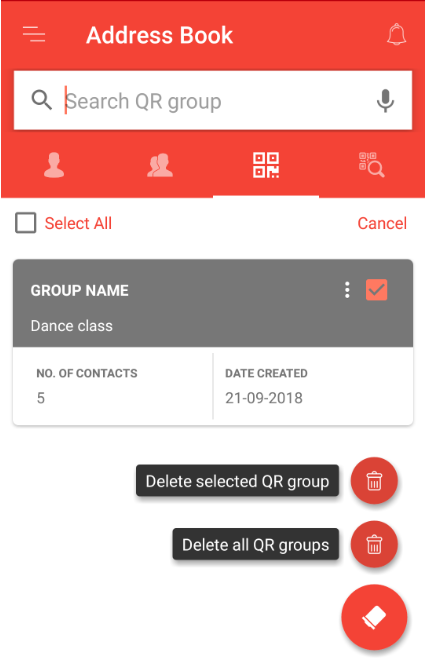
Once the delete button is selected, 2 options will appear – Delete selected QR group, Delete all QR groups. Select ‘Delete selected QR group.
When you select it, a confirmation message will appear on the screen
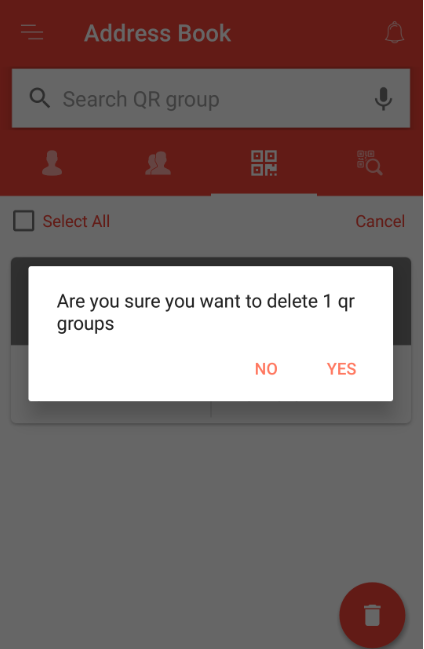
Click yes if you wish to delete QR otherwise click no. In this way you can edit or delete the QR groups.
Note : Please be careful while deleting QR Group because once QR Group contacts are deleted they cannot be recovered even from our side. Contacts are not stored by us for security reasons.
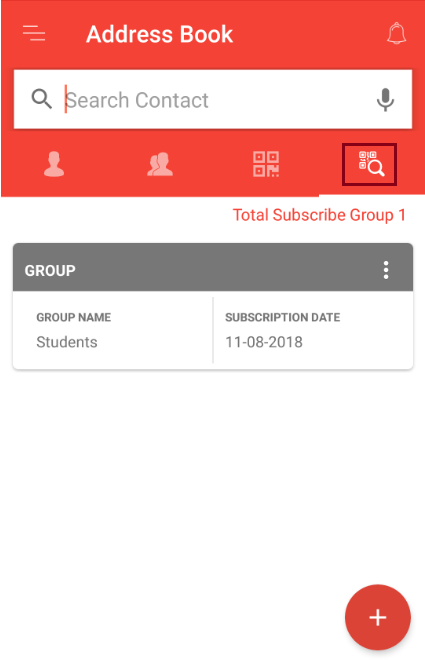
4. QR Subscription
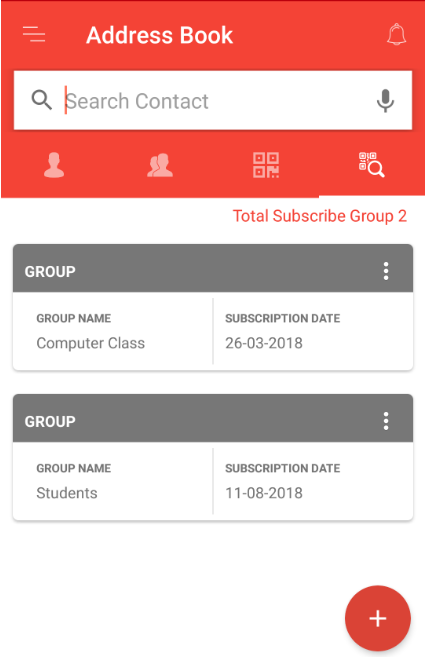
In the QR Subscription option, all the QR groups which we have subscribed will appear here.
We have subscribed to a group Students. So it will appear in our QR Subscription as shown below.
If we want to subscribe to a QR Group, simply click the ‘+’ sign to scan the QR Code. When you click on the ‘+’ sign, camera will get opened on your mobile. Scan the QR code, you will be redirected to the link.
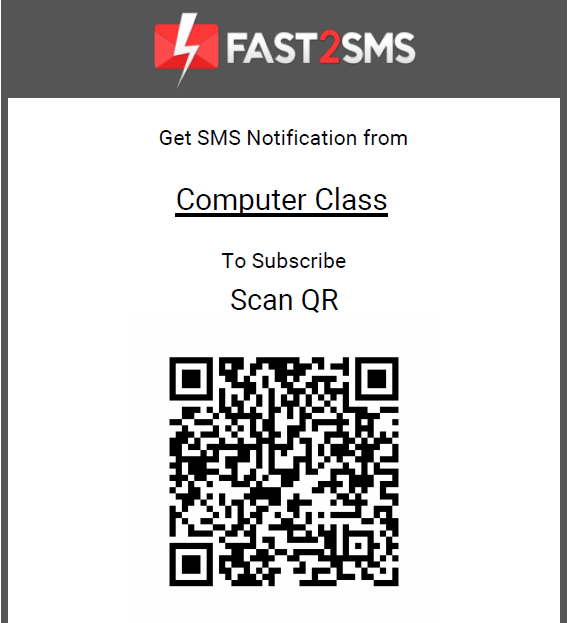
Suppose we want to subscribe to a QR Group, fast2sms.com/qr/computerclass.
We can subscribe the group in 2 ways. Either go to the direct link that is fast2sms.com/qr/computerclass or scan the QR code.
Next step is to fill the preferences.

Select your preference and then click on Save.
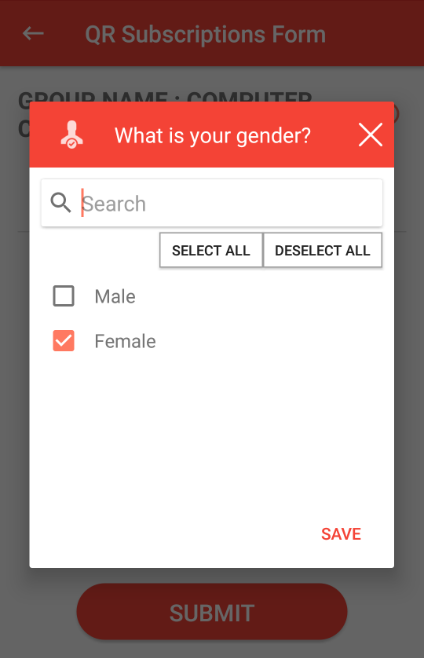
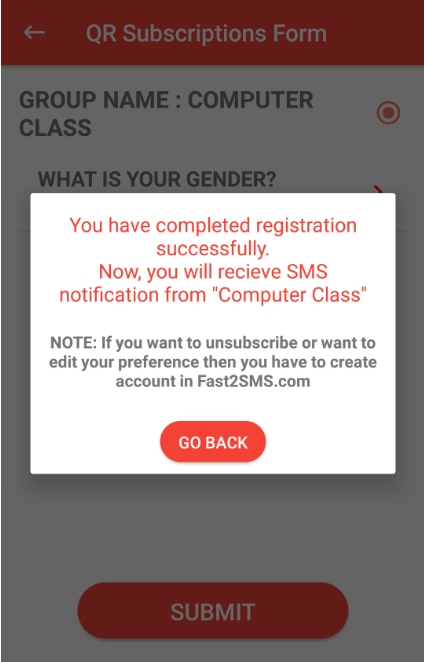
After that click on Submit.
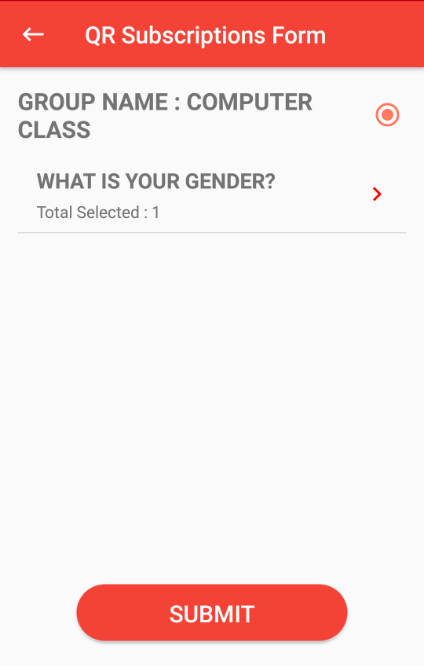
Registration will get completed successfully.
Now as you can see the subscribed group is visible in the QR subscription page.
This way we can subscribe to QR groups by scanning the QR code.
If we want to edit the QR Group, we can select the dotted vertical line next to Group and then click on Edit.

In the edit option we can change our preference which was filled previously.
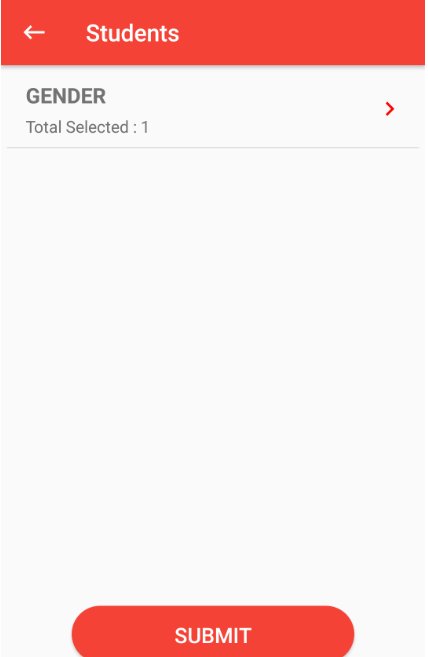
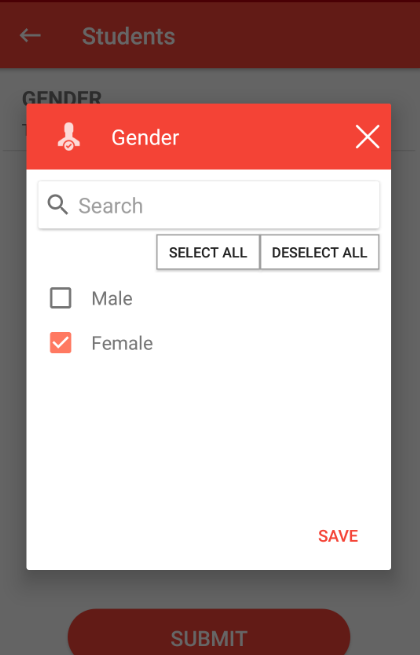
Select the Gender and then you can change your preference. After that click on Save. Your preference will get changed.
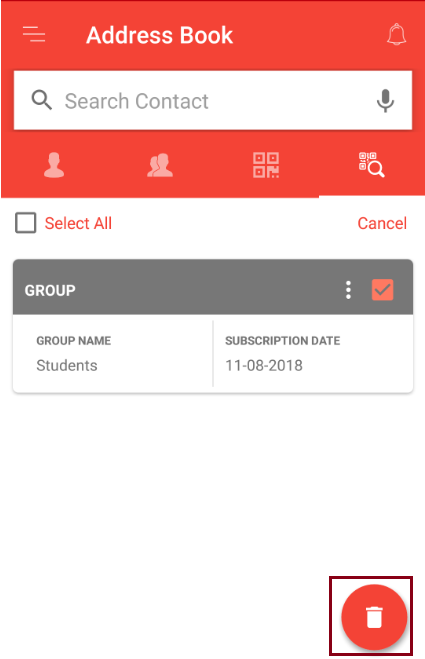
We can delete the subscribed group if we wish to. Visit the QR subscription option and click on the group name for few seconds.
The following window will get opened.
When you press the delete button, a confirmation message will appear asking permission to delete the subscribed group as shown below:
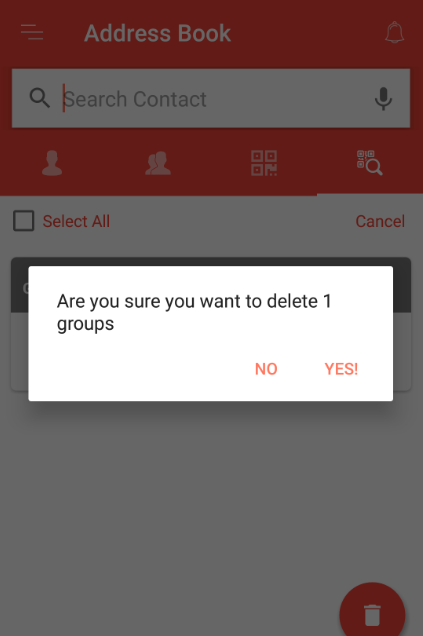
Select yes to delete and no if you don’t want to delete the subscribed QR group.
This way we can manage our QR Group Subscription.
Note : If a person wants to unsubscribe from a QR group and doesn’t want to receive SMS notifications from us, they have to create an account in Fast2SMS and then they can delete the required QR group.
This is how Address Book works.