Steps for sending Bulk SMS from DLT SMS section in Fast2SMS
For sending SMS from DLT SMS section, your Sender ID and Content templates must be approved at DLT operator and added in Fast2SMS.
Steps to send Bulk SMS from DLT SMS section
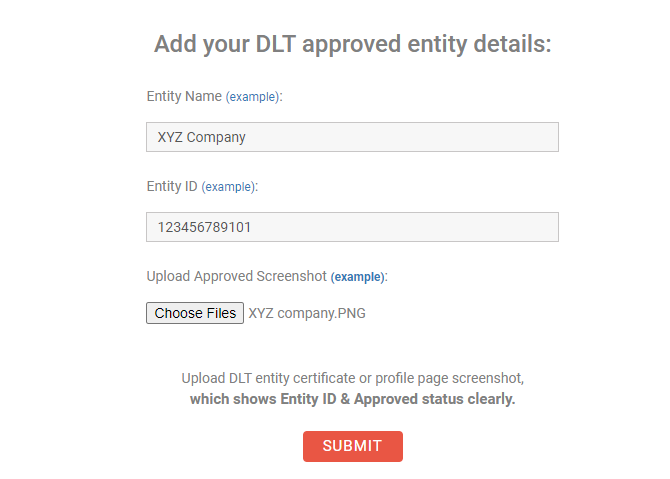
1. Login to Fast2SMS. Select DLT SMS section in menu on dashboard. If your DLT Entity details are not added, then the following dialog box will appear. Enter your approved Entity details such as Entity name, Entity ID, etc. After uploading the approved Entity screenshot, click on the Submit button.
2. Once submitted, the following message of entity pending for approval will appear on the screen.

3. Once the DLT Entity gets approved, the following screen will be displayed to add approved Sender ID.
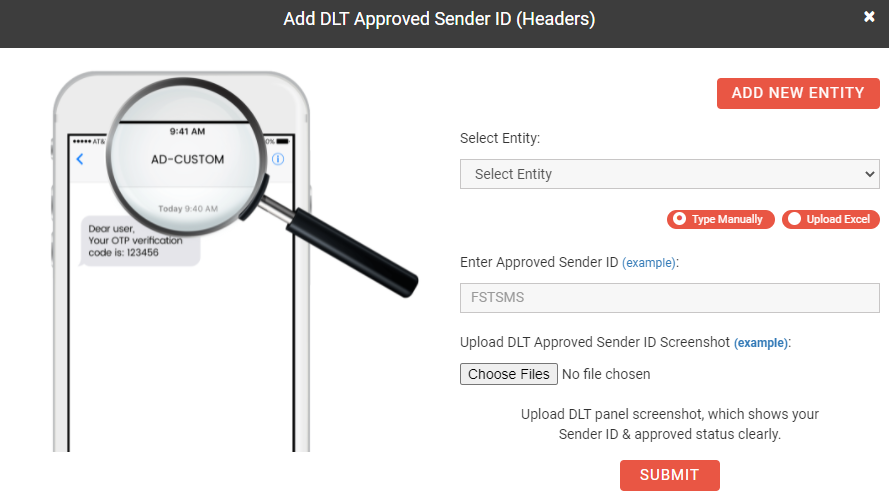
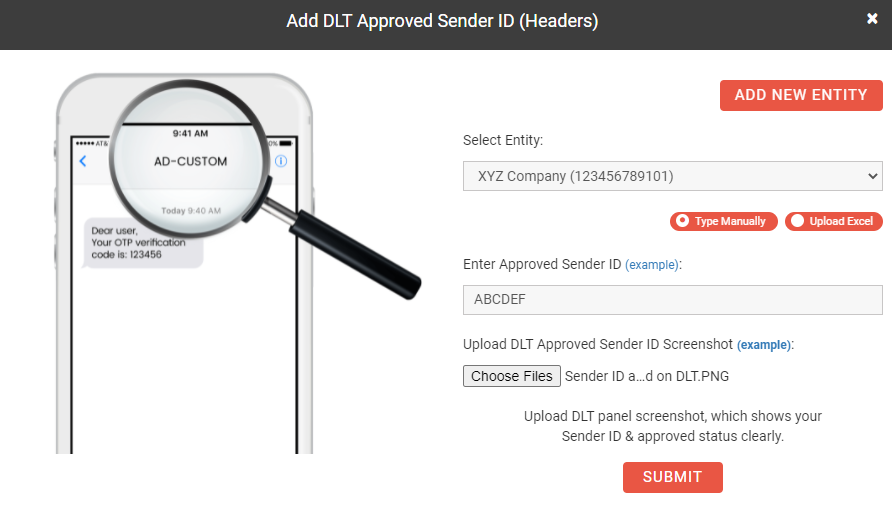
4. Select the Entity, enter the approved Sender ID with the Entity. Upload the approved Sender ID screenshot and click on the Submit button.
5. Once you submit the request to add Sender ID, the following message will appear on the screen.

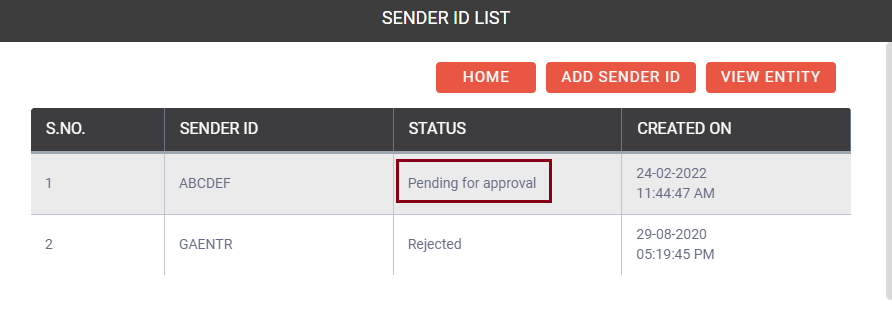
6. Sender ID pending for approval will appear in your Fast2SMS panel, as shown in the image below.
7. Once it gets approved, it will appear on the right side of the panel. Now, you can click on the Sender ID to add it in the Sender ID field.
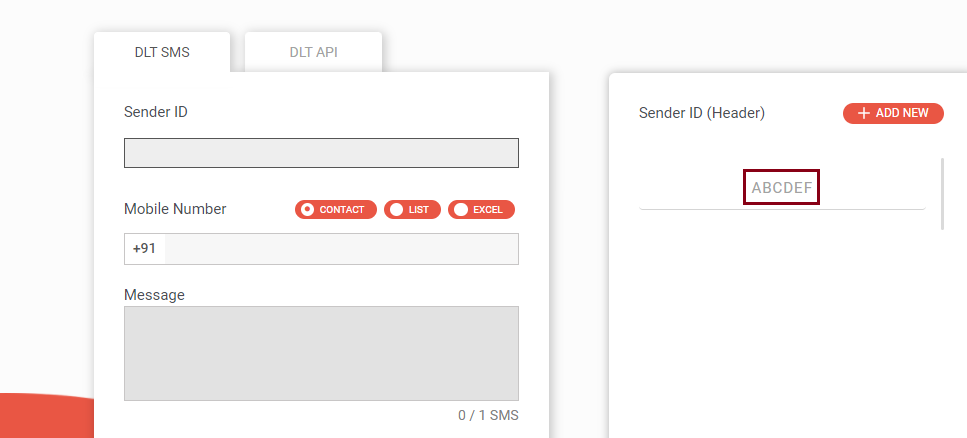
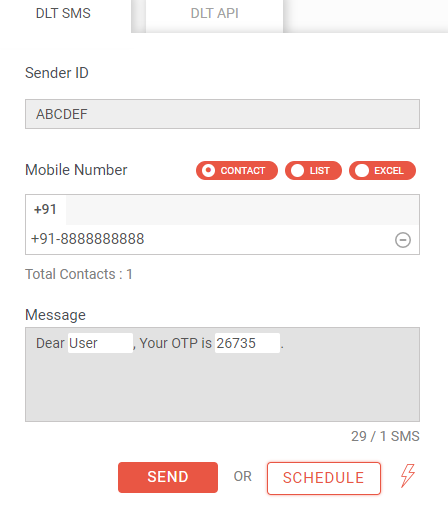
8. Next, in the mobile number field, enter the contact numbers to whom you want to send messages. You can choose any of the three options – Contact, List, Excel to enter the numbers.
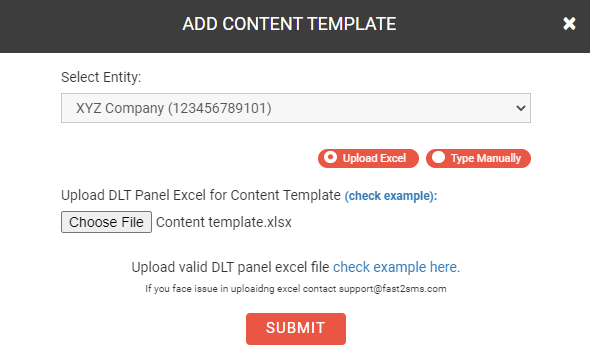
9. Next, click on the message field, option to add content template will appear. Select your Entity. As shown in the image below you get to add content template by uploading excel or by typing manually.
For uploading content template via excel file, click on the checkbox ‘Upload Excel’ and choose your template file. Once it gets uploaded, click on the Submit button.
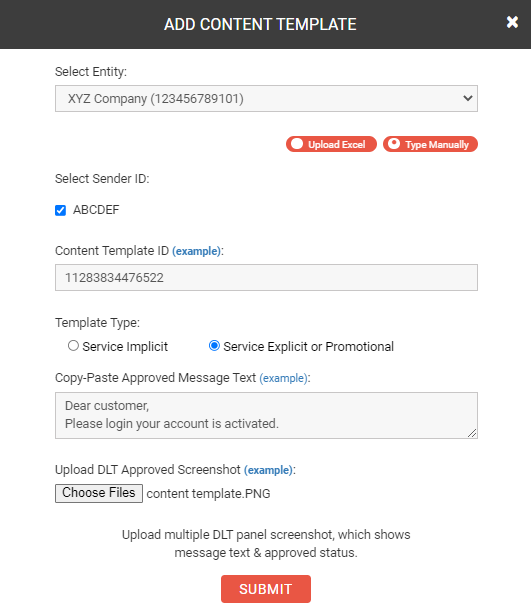
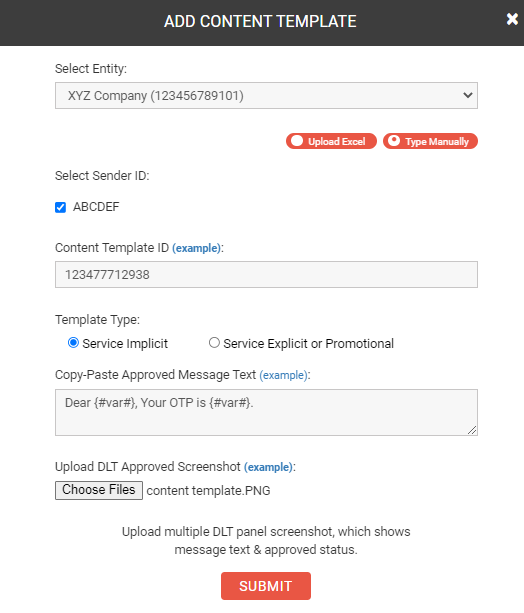
10. When you are adding content template by ‘Type Manually’ option, you need to fill the details as follows. Select the Entity and Sender ID, then enter the Content Template ID. Select the checkbox for the template type. Copy paste your approved template on the DLT platform. Upload the approved DLT screenshot and click on the Submit button.
11. Below, we have taken the example of content template with variable values.
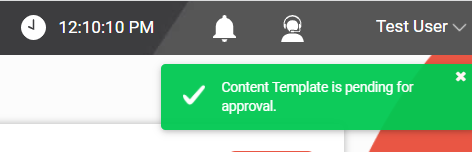
12. Once you click on the Submit button, the following message will appear on the screen.
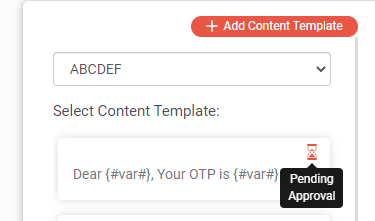
13. If your Templates or Headers are pending for approval, then it will show in Hourglass symbol. You need to wait until your Header or templates get approved by Fast2SMS team.
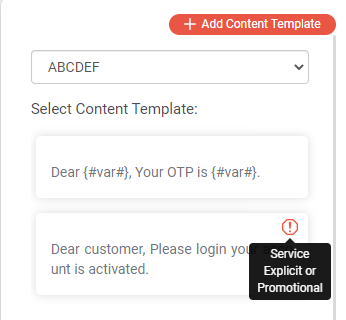
14. The templates approved in Service explicit or Promotional category will be shown in Exclamatory sign “!”.
15. Now, to send the message, click on the Message field and select the template from the ride side of the panel.
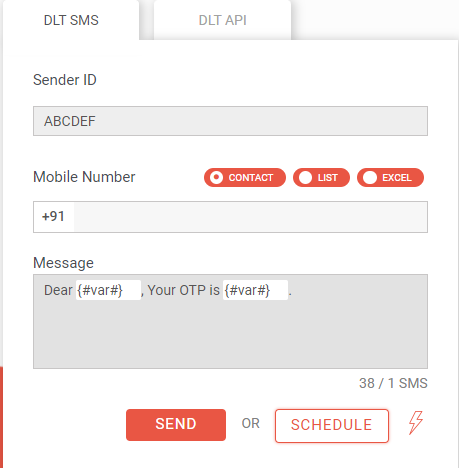
16. Enter the variable values as shown in the image below. Click on the Send button to send SMS. You can select Schedule button if you want to send messages at a specific time and date.
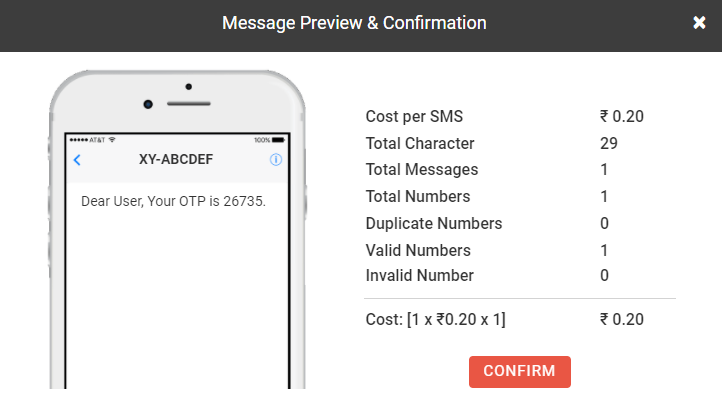
17. As you click on the Send button, a message preview dialog box will appear on the screen. Click on Confirm to send the message.