WhatsApp Business API Free Access via Fast2SMS
Have you purchased any product especially electronic products? Well, almost everyone will say yes! So you must’ve observed that it brings that small booklet (instruction manual) which is neglected the most and is treated like it doesn’t exist but what importance it carries unfolds when product gets damaged. Similarly, when users, whimsically, without taking any reference onboards on setting up WhatsApp Business API can invite many problems unknowingly. Some mistakes which users make face if WhatsApp Business API doesn’t get set-up properly:
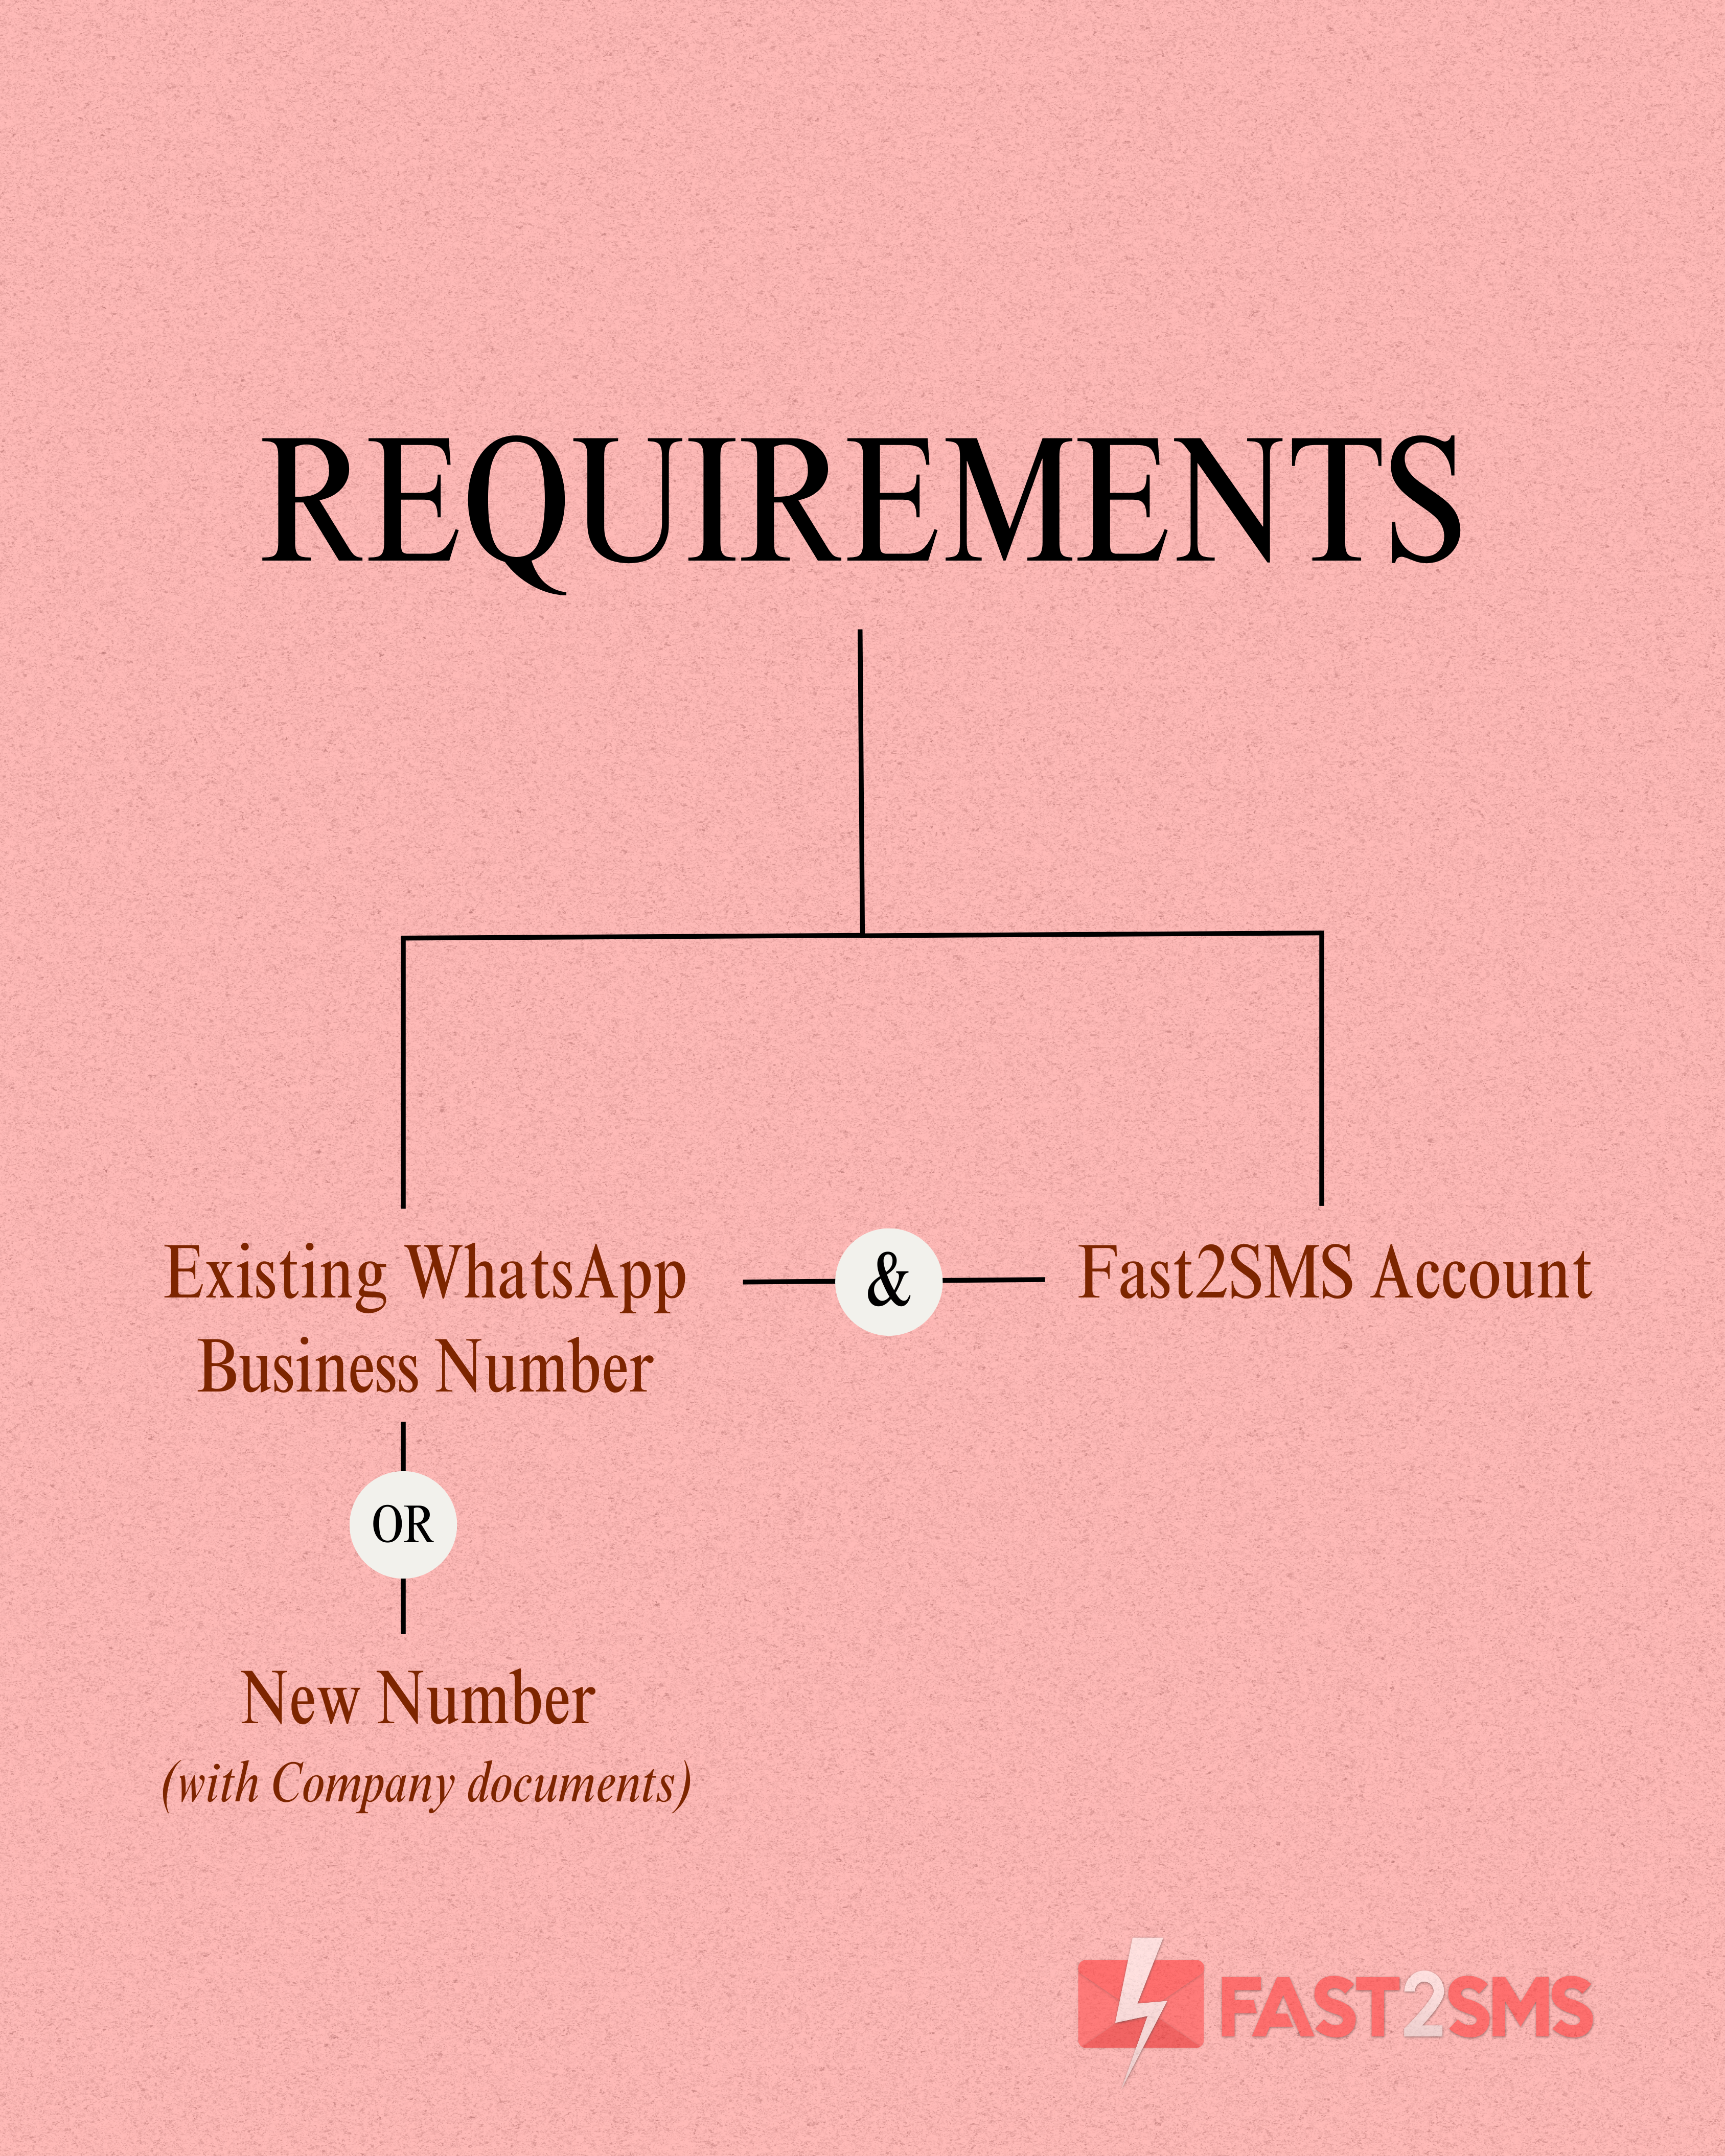
- Inserting Different Number: Suppose your number which is linked to your business is different and you have entered another number let’s say personal number while setting up the WhatsApp Business API. So, by doing this we will not be able to proceed further.
- Non-working Website: Sometimes people want to register websites which are not live yet or not in the condition of working so in that case also they will not be able to proceed into WhatsApp Business API setup.
- Mixing of Multiple Portfolios: If you have multiple portfolios for your brand and you are making templates for other portfolios which have different brands, in that case also it will not be approved to move further.
So, moving forward we will discuss about WhatsApp Business API onboarding. Let’s start!

Requirements for WhatsApp Business API Access
WhatsApp Business API Set-up
After all the necessary requirements, you are eligible to move further! Let’s go step by step and reach the final destination i.e. WhatsApp Business API setup.
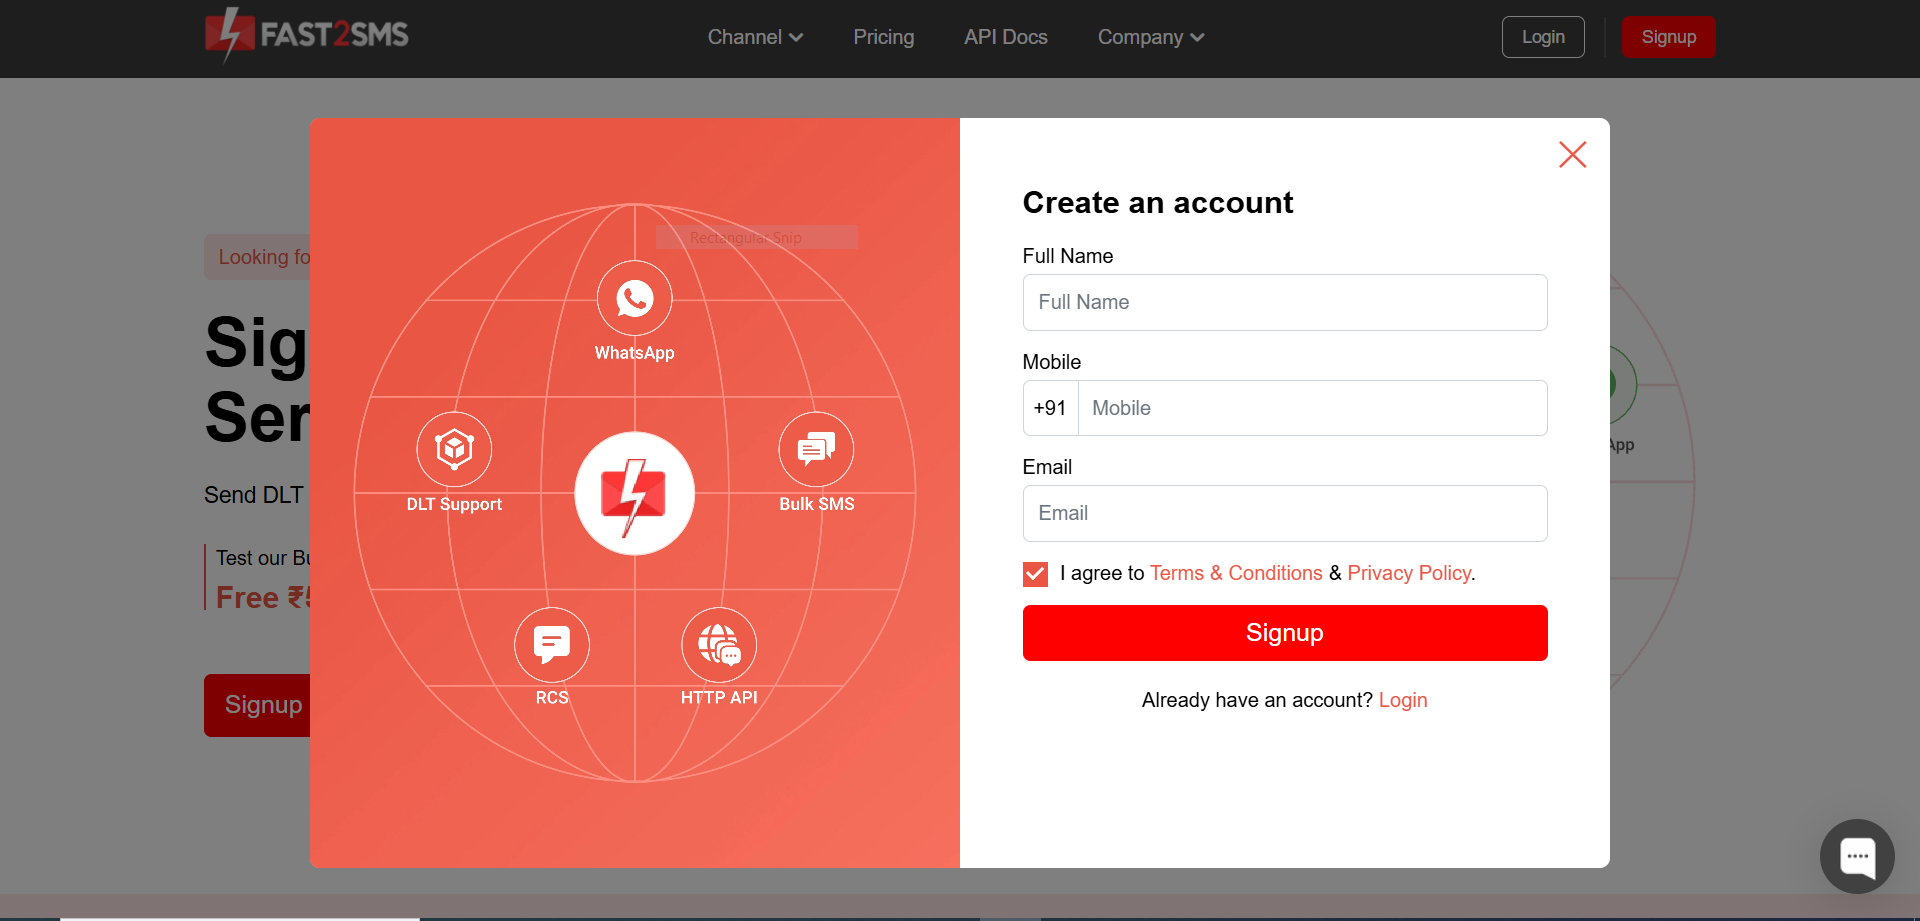
Step 1: Click -> Signup on Fast2SMS to get your account on Fast2SMS or you can login if you’ve already got your account.
Step 2: Click on “WhatsApp Business” followed by clicking on “Login with Facebook” .Your Meta business account will be shown in this step. Just like shown in the below image.
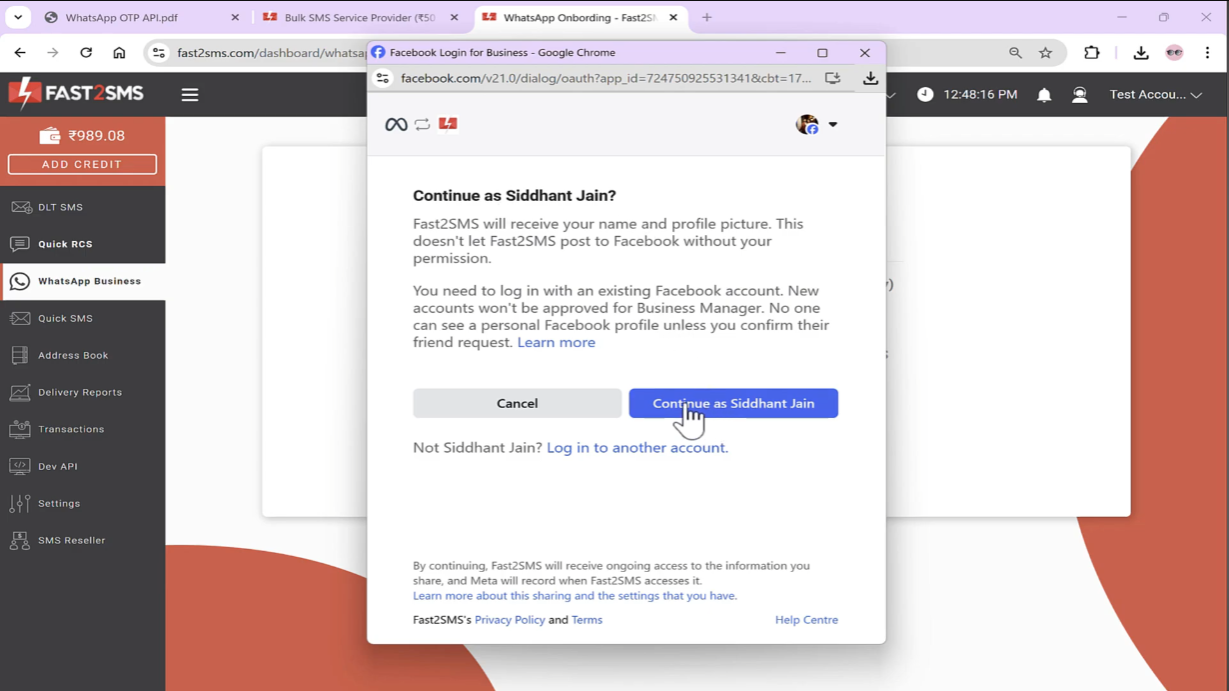
Step 3: Going with the flow, click on “Continue as (your account name)” to proceed seamlessly and smoothly just like butter.
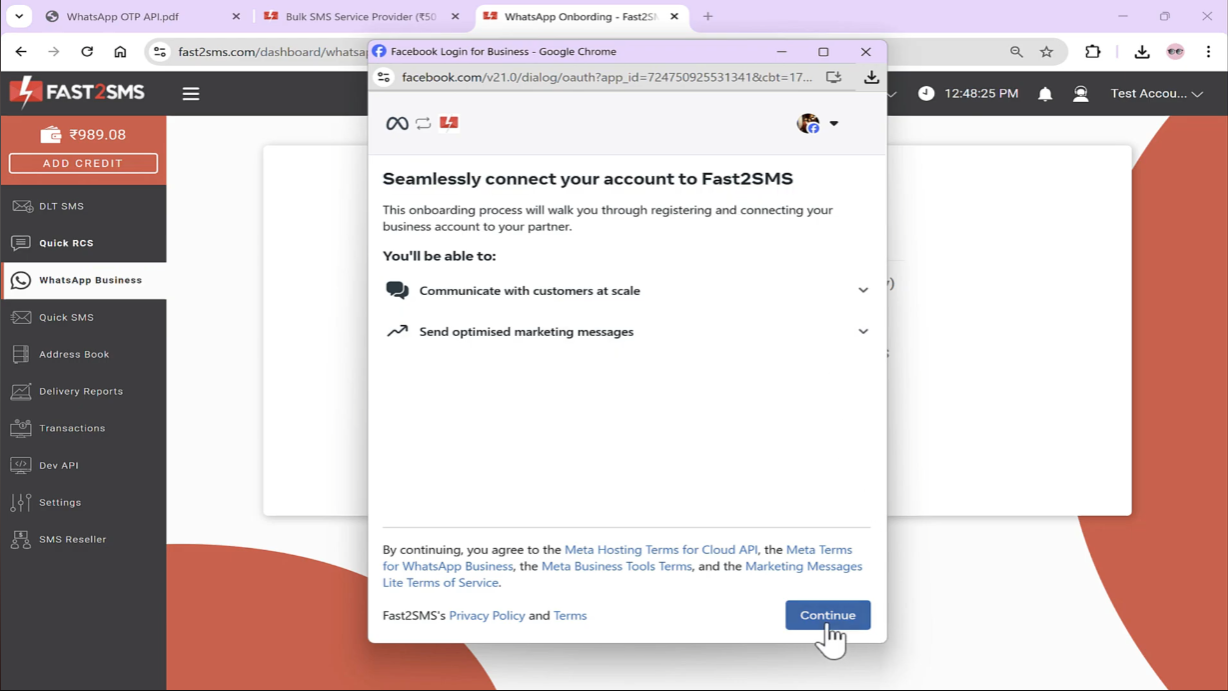
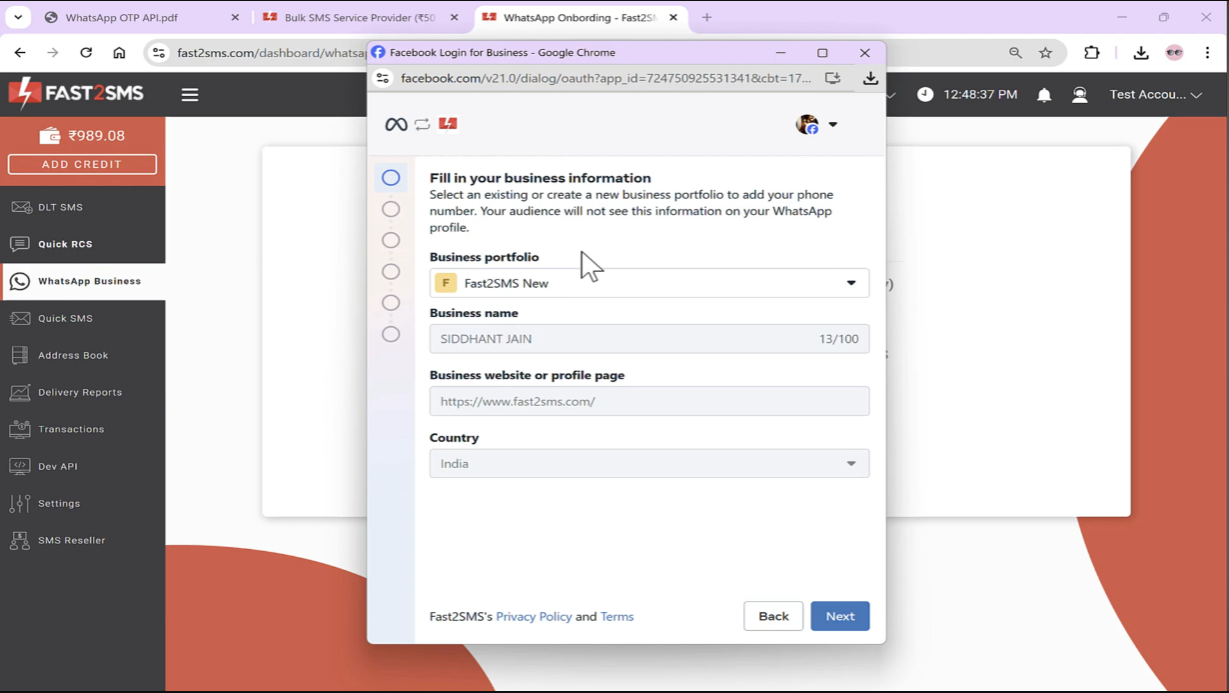
Step 4: Select your preferred Business portfolio (if many) otherwise the single one will be selected, as obvious it is. Imagine a person who wants to fly to Mumbai but out of nowhere he boards on plane which is ready to take off to Delhi and if he asks whether the plane is leading towards Mumbai. Will it? Obviously not, similarly you can’t edit business name and business website or page once verified in Meta.
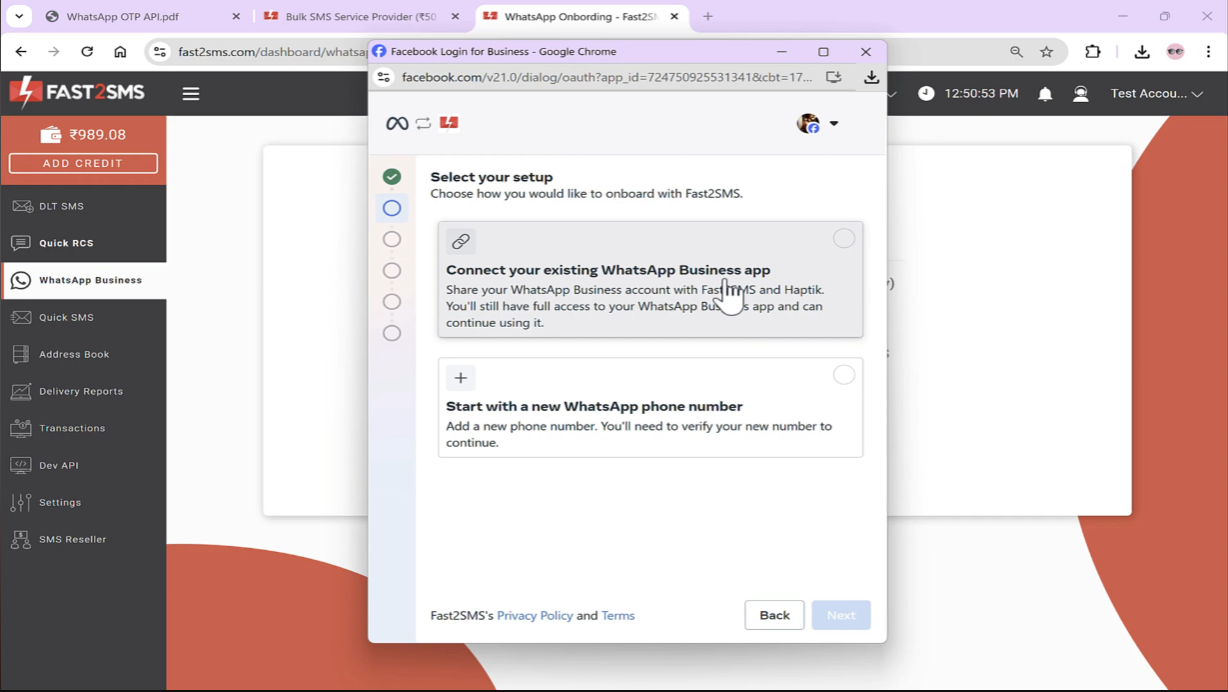
Step 5: Select “Connect your existing WhatsApp Business app” if you have your existing number from which WhatsApp business account is linked. But if you want to kickstart with a new number then go with the second option. So, here is the attention key, “You have to start your new number from here only only otherwise if your number is already linked it will throw error.” In this discussion, we will move forward with first option.
Step 6: Enter your registered mobile number and click “Next.” After that, your name which is put on your WhatsApp Business account will be shown.
Step 7: Finally, click on “Finish” and you will be signed up successfully.
Congrats! You are now onboarding to the Fast2SMS panel.
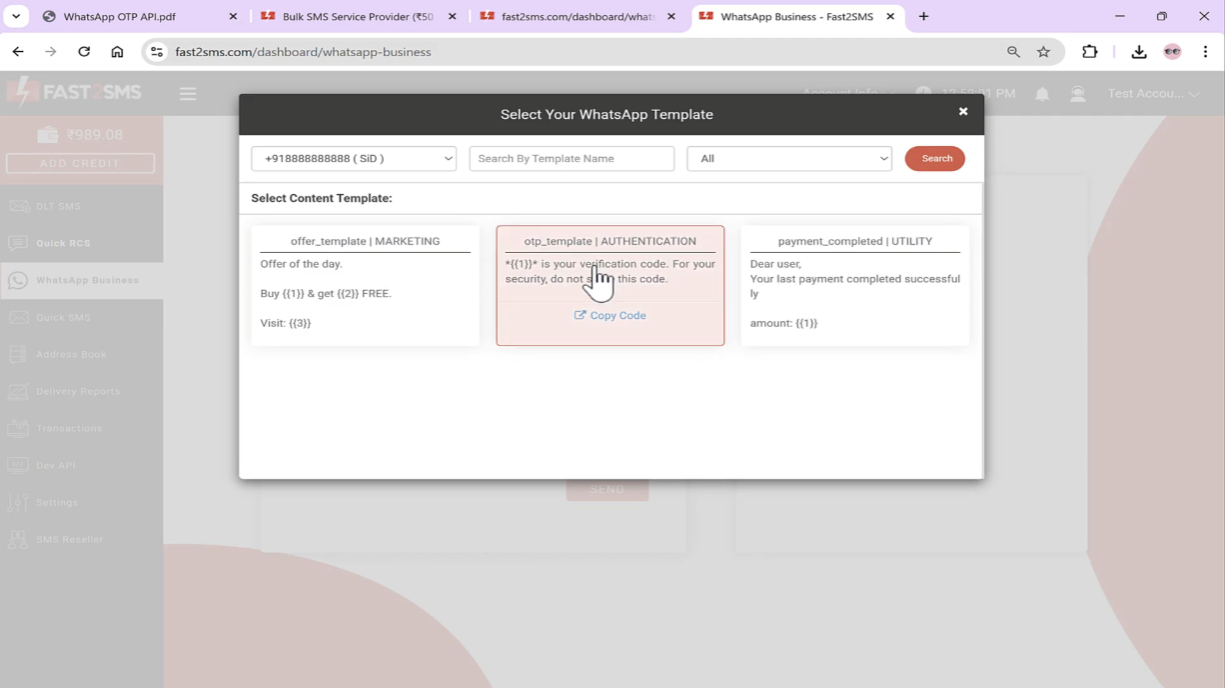
You will see an option named “WhatsApp Manager”, there you will see the number and name which will be displayed to the receivers to whom you will be sending SMS. In “WhatsApp Manager” we provide you three pre-made templates for your ease of access and you can create new template as per your wish.
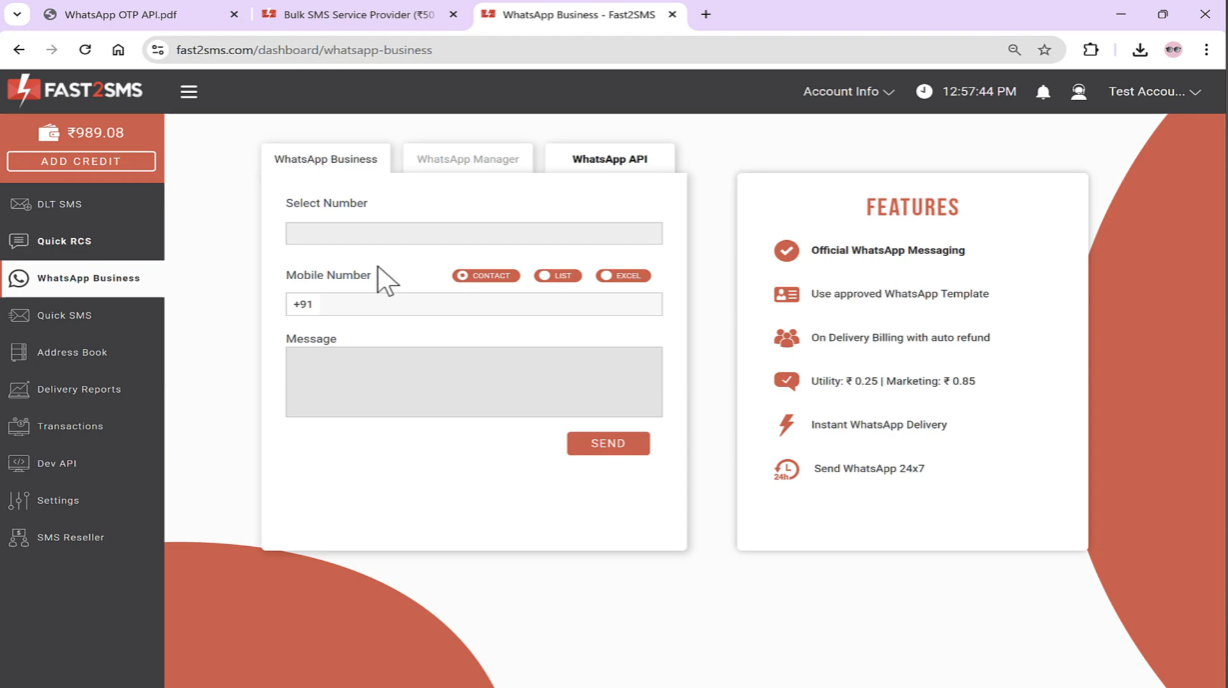
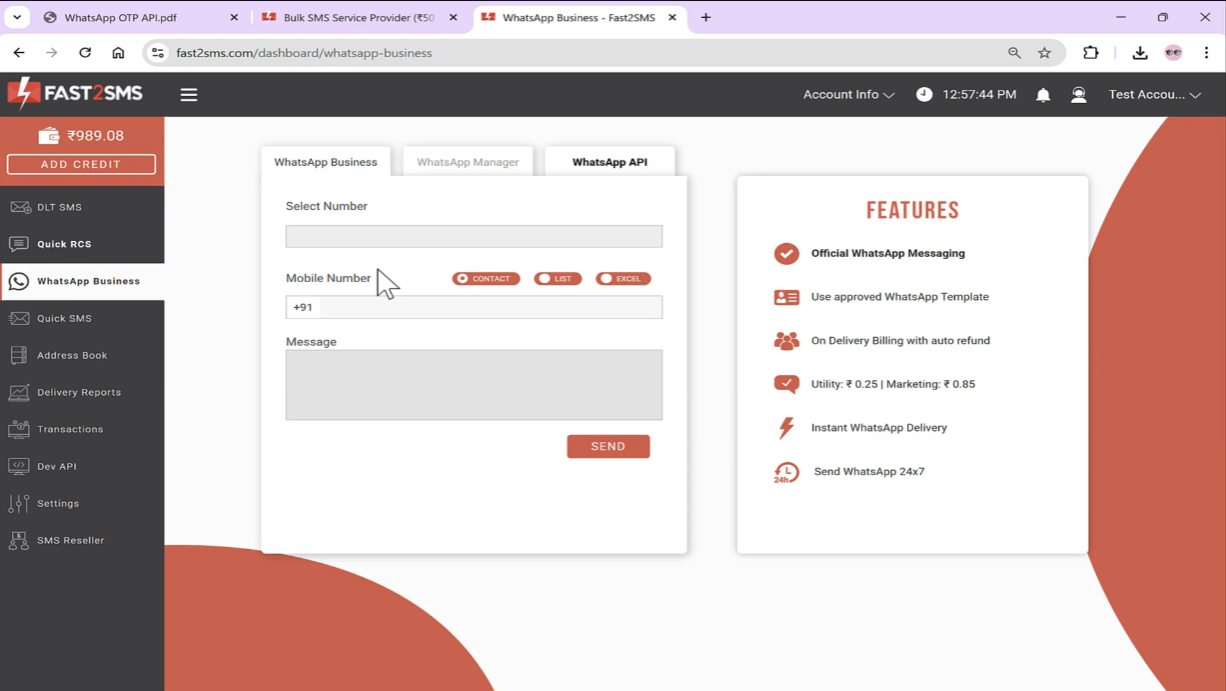
Now to send WhatsApp messages come to “WhatsApp Business” and select number from which you have to send message. After selecting, you will be having three options i.e. contact means you can add saved numbers in just one click or you can make groups, list means you can add numbers manually and in excel you can upload csv file to import contact numbers from excel file. Finally after punching the “Message” button you will be offered different message templates and you can select any one of them.
As a last step, click on “confirm” if everything’s alright. And yes! it is done.
Accessing WhatsApp API
If you see right next to “WhatsApp Manager” there’s a option named “WhatsApp API” and we have provided “Authorization Key” over there and you just have to paste that key in your backend. You can also download excel file of all of your approved template and you will see that each template will be allotted with a unique ID. The variables can be changed of whatever number we want to put like in OTP messages. Now after sending the message you can see results in “Delivery Reports” section.
Note: You will get refund of all the failed messages within 48 hours in your wallet.
Lastly, to mention the soul of everything i.e. credit balance. You can add “Credit” by clicking on “Add Credit” in the upper left side of the panel. The minimum amount to be added is Rs. 100 and that same amount can be used for Bulk SMS, RCS SMS and WhatsApp Business.