How to complete WhatsApp Business API onboarding process?
Amongst various applications, WhatsApp has a large users in almost over 180 countries. Due to its excessive use and popularity, it is easier for small, medium and big business to connect to its audience as almost everyone has the smartphones and internet connection. Through WhatsApp, message is seen at the required time and indeed it is encrypted and secured.
Apart from this, WhatsApp API has other advantages as its implementation is simple and is easy to use. This API helps to communicate with its customers in a personalized way. All media, cards, text, photos are supported providing better delivery of communication. Hence, WhatsApp Business API helps in engaging their customers in enhanced way and makes the communication better.
Therefore, it is now crucial for business who want to send WhatsApp Business API messages to understand the onboarding process.
To get onboarded to WhatsApp Business API, Fast2sms here comes to your aids.

In this articles, we will guide you step-by-step method for complete WhatsApp Business API onboarding process.
So, let’s get started!
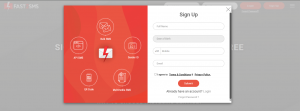
Step 1: Login/Signup with Fast2SMS from here.
Now, make sure you have the following things ready before getting onboarded:
- You have your genuine Facebook account that is old as Meta will not accept a new account, it can blacklist or block the new account
- On your Facebook page, in the company’s profile section, link your WhatsApp number on that.
- You must also have working website as Meta will review it, so make sure to insert logo, name, terms and conditions, etc. on the website.
If these are not available, the process may get stuck at Meta end.
Now, proceeding further.
Step 2: Login using your Facebook account to connect with WhatsApp Business.
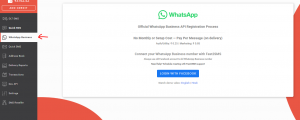
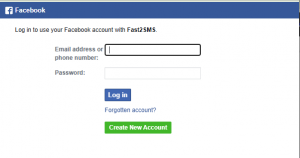
Step 3: Click on “LOGIN WITH FACEBOOK”, you will be asked for Facebook login page.
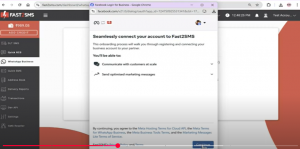
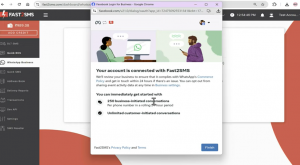
Step 4: A window will appear which shows “Seamlessly connect your account to Fast2SMS”. Click on “continue”.
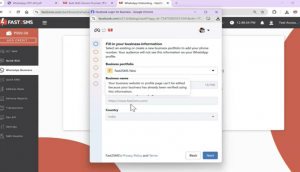
Step 5: Now, you need to “Fill your business information”. Then click on “Next”.
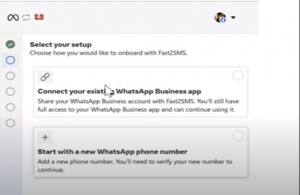
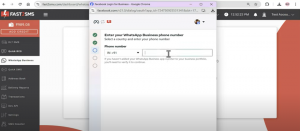
Step 6: Now, there will be two options asked for, either you can choose “connect your existing WhatsApp Business App”, in this WhatsApp OTP will be delivered via mobile phone and not from display name. You can manage all the conversation through your phone.
Or, you can choose “Start with a new WhatsApp phone number”, in this a new number will be assigned and message will get delivered via your display name. you can manage your display name and conversations from Fast2SMS dashboard.
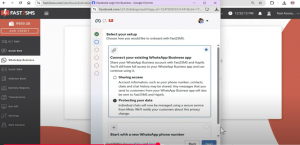
Step 7: Here, we are continuing with the existing number for demo. Now, when clicked on “Connect your existing WhatsApp Business app”, following window appears. Click on “Next”.
Step 8: Enter the mobile number. After that, the OTP will come for verification on that number. After verification is done, a window will appear in which you need to select the name of the business, and then select the Time Zone. And then click on “Next”.
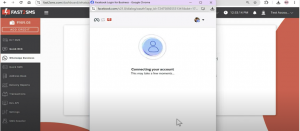
Step 9: Now, a review window will appear for connecting the account, review all the details and then click on “continue”.
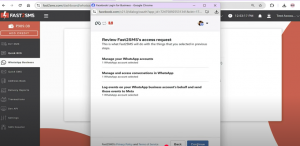
Step 10: After it gets connected to Fast2SMS, you’ll receive the QR Code, like this
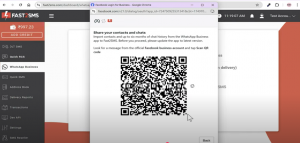
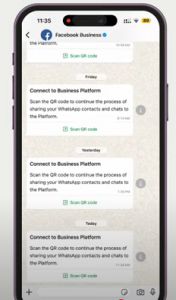
Step 11: You’ll receive the message from Facebook Business in which you will be asked to scan this QR code from your phone. Click on “Scan QR Code”.
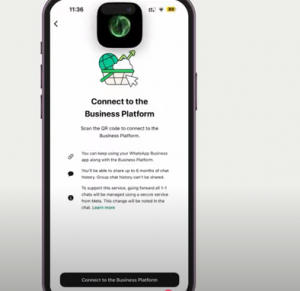
Step 12: When you click on “Scan QR Code”, you will get message “connect to your Business platform”.
Step 13: After clicking on that, you can either select any of these options:
Share all chats: In this, previous all chats along with the new chats will be displayed on our platform
Don’t share chats: In this, previous chats will not be shared, but new chats will be displayed.
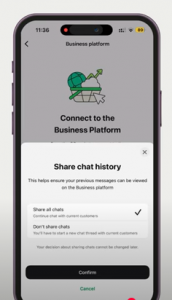
Step 14: After selecting any of these options, click on “confirm” and then scan the above QR code from your phone.
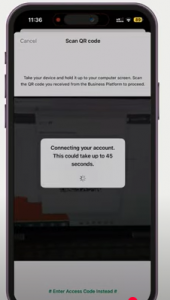
step 15: Now click on “Ok” on your phone. After clicking on “Ok”, your get WhatsApp Business gets connected to Fast2SMS.
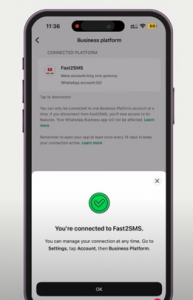
Step 16: After all procedure is completed, a window will appear, make sure to click on “Finish” for your WhatsApp business account to get linked to Fast2SMS.
NOTE: Click on “Finish” is mandatory as you need to again start the process of embedded signup from the beginning if it is not clicked.
Steps 17: Now, your account has been linked to Fast2SMS and your dashboard will appear like this
WhatsApp Business API onboarding process in now completed!
For testing purpose, by default you get three pre-approved templates from Fast2SMS, each templates are pre-approved in Marketing, Utility, Authentication category respectively.
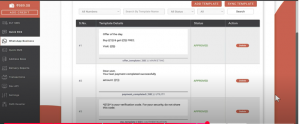
It is upto you to keep these templates, or delete it.
For creating your own pre-approved templates, you need to click on “ADD TEMPLATES” and proceed further.
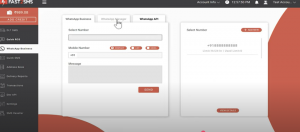
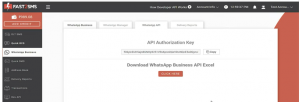
Step 15: For sending WhatsApp API, click on “WhatsApp API” tab and then click on “CLICK HERE”. After that, an excel file will get downloaded.
Step 16: After excel file gets downloaded, you get message Id for each templates which you can integrate in your mobile application/website.
In variable_values, you just need to enter the value here.
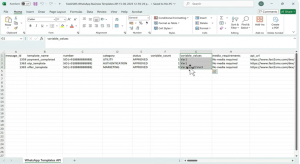
Now, you got API for each messages.
Start sending the WhatsApp Business API message and reach to your clients for better response. Enjoy messaging!