
How to approve RCS Bot Agent for sending RCS messages?
Do you want to send RCS messages with your own brand name, logo and website details! If yes, you have come to the right place. Here, we will guide you step by step on the process of Fast2SMS RCS Bot approval for sending RCS messages.

RCS Bot registration steps for sending RCS messages
1. Once you login in Fast2SMS, the dashboard will appear as shown in the image below
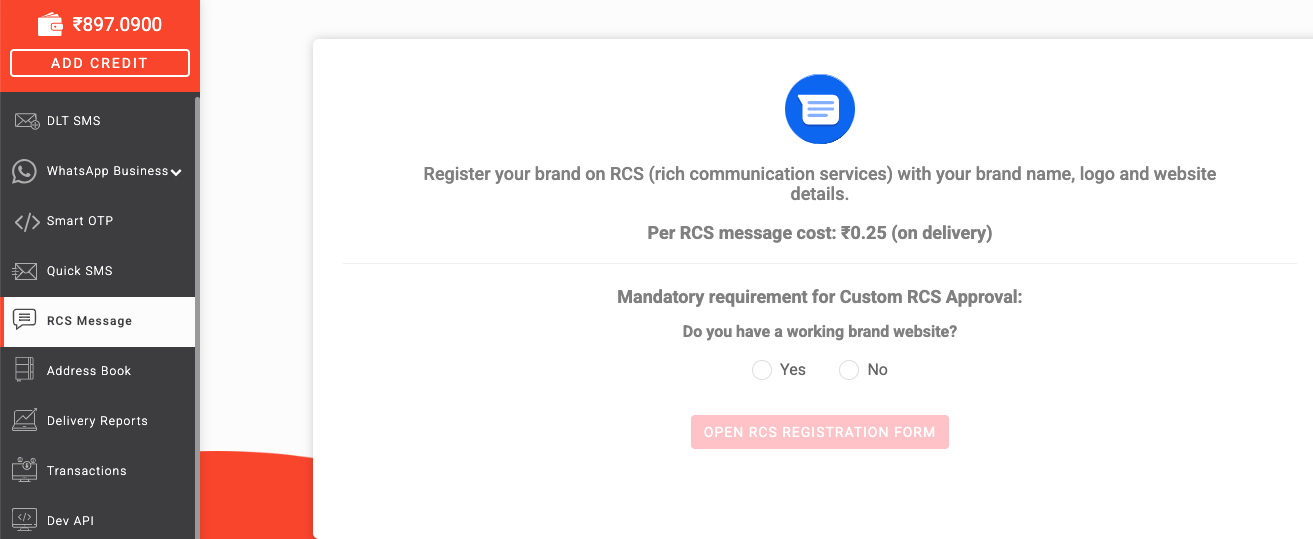
2. Now, you can get your RCS Bot approved with your brand name, logo and website details. First, you need to answer few questions that are mandatory for Custom RCS approval.
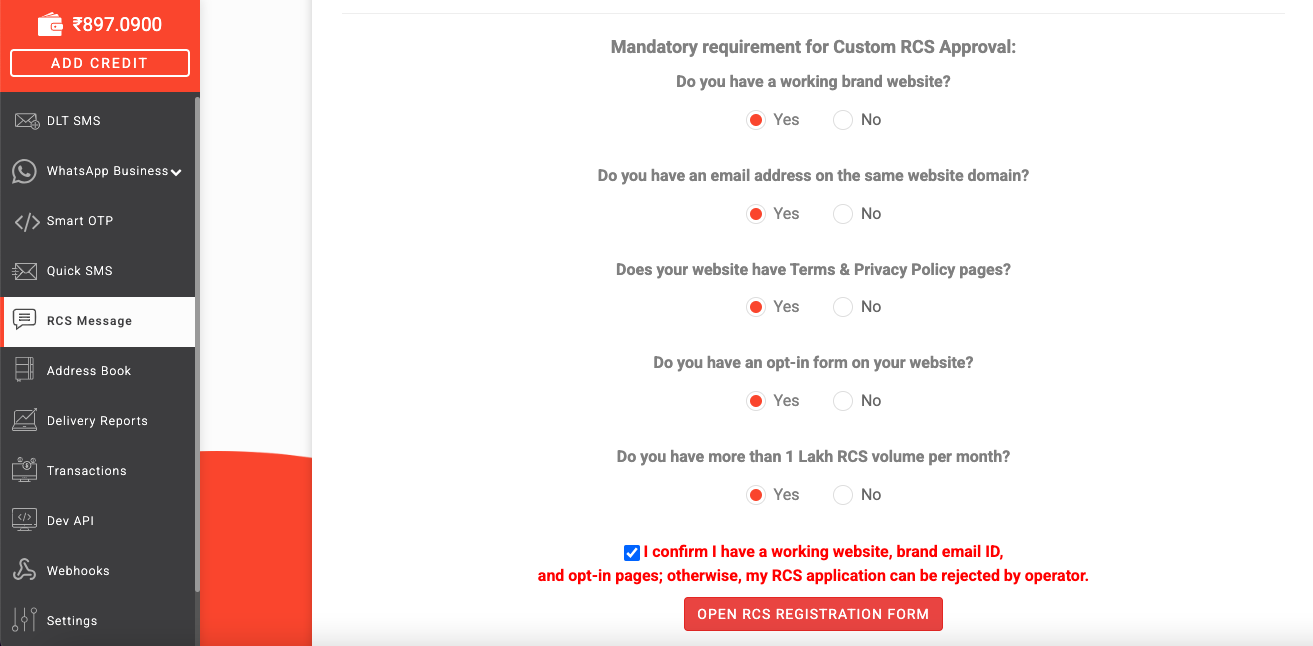
Select ‘yes’ option in the question ‘Do you have a working brand website’, once you select the ‘yes’ option, next question will appear ‘Do you have an email address on the same website domain’, select ‘yes’ and then the other question will appear ‘Does your website have Terms & Privacy Policy pages’. Once you select the checkbox ‘yes’, another question will appear ‘Do you have an opt-in form on your website’, select ‘yes’. Next it will ask you whether you have 1 lakh RCS SMS requirement per month, click ‘yes’ to continue.
Once all the options are selected as ‘yes’, a confirmation dialog box will appear. Click on the box and then select the tab ‘Open RCS Registration Form’.
3. Once you click on ‘Open RCS Registration Form’ tab, the following message will appear at the side of the screen.
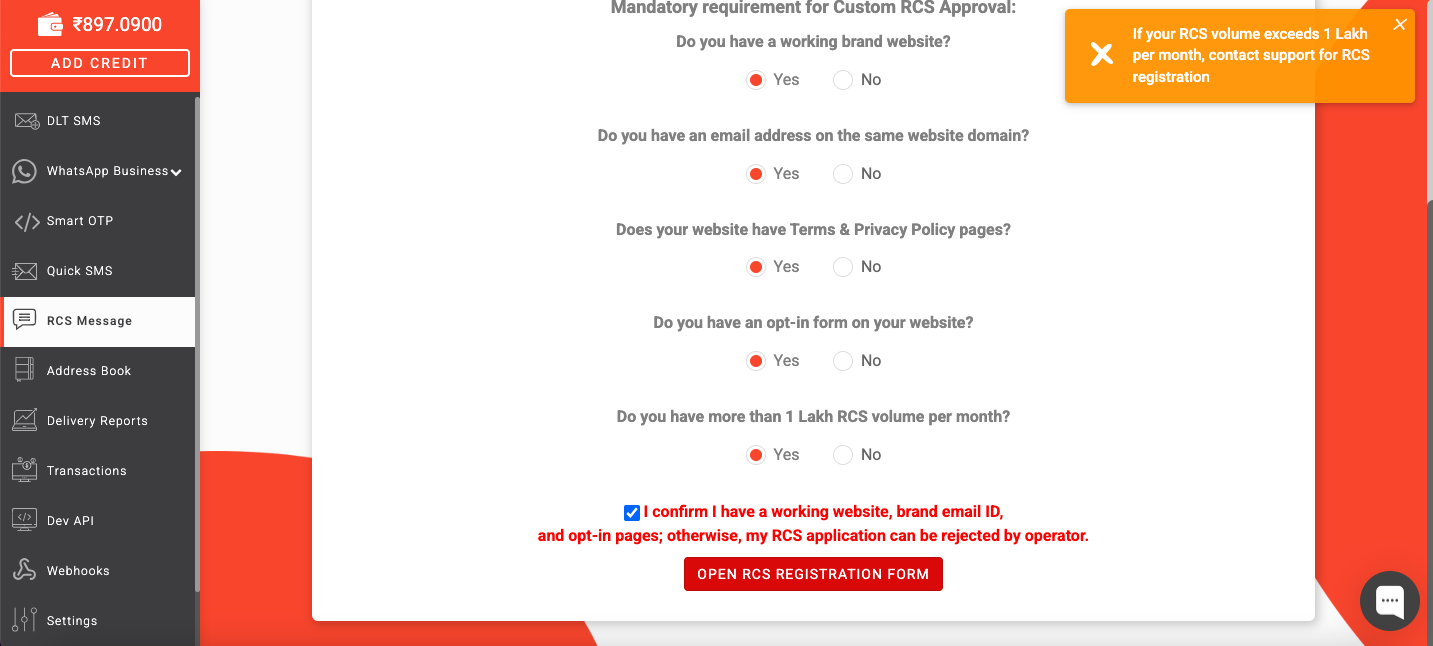
4. You need to contact Fast2SMS support team, once you contact them via whatsapp, chat or email, the form link will be provided. Once you open the link, it will appear as shown below
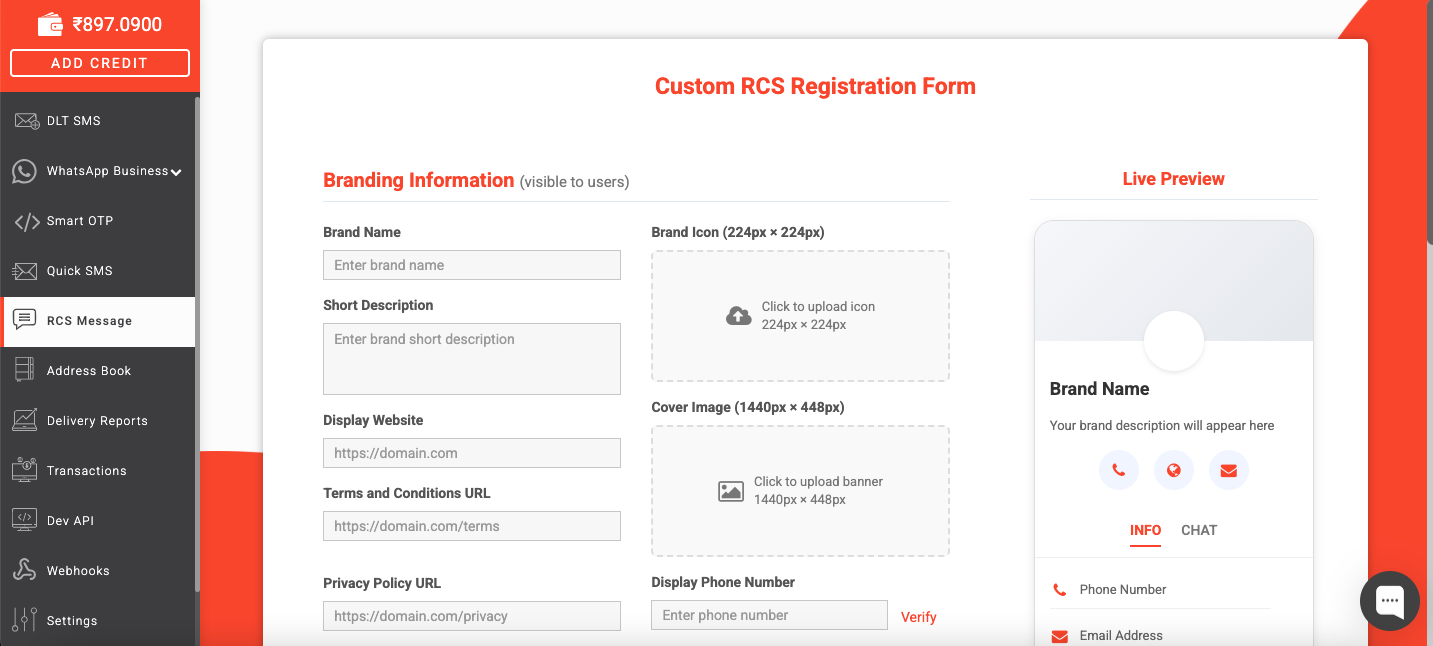
5. Now, you need to enter the complete details as asked in the form.
Enter your brand name, here we have mentioned Brand name as “Fast2SMS”.
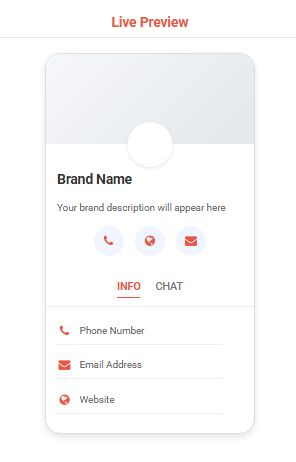
Then mention the description of your Brand, here we have written “India’s leading Bulk SMS Service Provider”. Also, upload your brand’s icon as per the prescribed format. Then enter the ‘display website’, terms and conditions URL, then upload your website’s banner. Enter “Phone number” and verify it with OTP. And then, enter “Display Email Address”.
After entering all the details, you can preview how your customer will receive your Brand RCS message.
6. Now, in Brand Point of contact, enter the name and Email Id of the concerned person in the company.
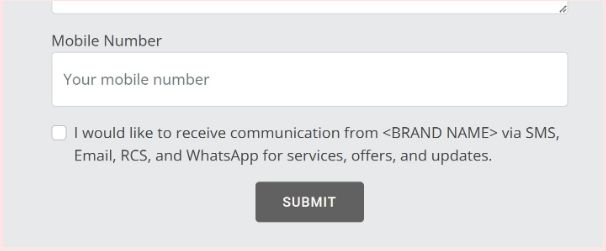
7. Next comes the Opt-In proof section. Opt-in proof on the “contact-us” page or in the “sign-up” page should be provided with the check box. After entering all the details, click on the confirmation checkbox and then select ‘Submit to Operator’.
Please note that the Bot approval typically takes 5 to 7 working days after submission.
After approval, you will receive an Email from the operator, in which you need to copy the same text and sent it in “reply to all”.
Example: I, (your name) as (Client, business name) grant JioCX the right to operate an RCS Business Messaging agent using the information specified in this email.
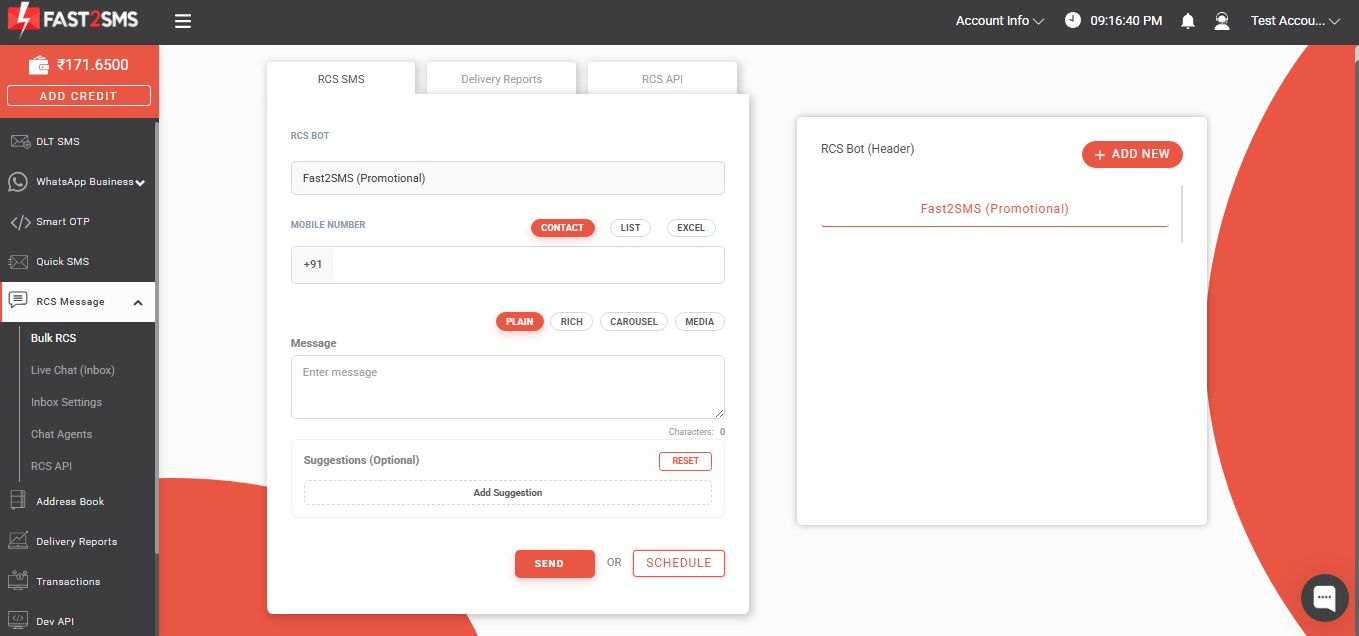
Once your Brand RCS Bot gets approved, then the dashboard will appear like this
We hope this guide has helped you understand the complete RCS bot approval process. Once approved, you can start sending rich and interactive RCS messages to transform your customer communication experience. Sign up with Fast2SMS today, get free testing credits, and elevate your messaging journey with interactive experiences that captivate, engage, and convert. Call at 6262778822 or Whatsapp us for more details!